
Introduction to Watermelon Mochi
Watermelon mochi is a delightful twist on the traditional Japanese treat. With its soft, chewy texture and refreshing watermelon flavor, it's not just a dessert; it’s an experience. Picture yourself enjoying a warm summer day, the sun beaming down, and in your hand is a piece of this vibrant treat, bursting with flavor. It's an indulgence that invigorates the senses and piques the palate.
But why watermelon mochi? For starters, the natural sweetness of fresh watermelon juice transforms the typical mochi flavor profile into something truly special. It's light, bright, and oh-so-refreshing! Plus, making mochi at home allows you to customize its sweetness and texture to perfection. If you’re curious about how the ingredients work, glutinous rice flour is key; it provides that signature chewiness while watermelon juice adds a juicy burst of flavor.
To take your culinary skills to the next level, why not explore more mochi variations? For inspiration, check out sites like Just One Cookbook or Serious Eats. They provide valuable insights into different flavors and preparation methods. Now, let's dive into the recipe that will have you whipping up your own watermelon mochi in no time!
Ingredients for Watermelon Mochi
Creating your watermelon mochi is not only simple but also rewarding! Here’s what you’ll need to bring this delightful treat to life:
- Glutinous Rice Flour (200g or 1 ½ cups): This is the star ingredient that gives mochi its signature chewy texture.
- Granulated Sugar (65g or ⅓ cup): Sweetness is key! Sugar balances the flavors and enhances the watermelon’s natural sweetness.
- Corn Starch (40g or ⅓ cup): This helps prevent the mochi from sticking and gives it a smoother finish.
- Watermelon Juice (240ml or 1 cup): Freshly juiced watermelon is essential. It infuses the mochi with a refreshing flavor—make your own for the best taste!
- Vegetable Oil (1 ½ tbsp): A bit of oil helps keep the mixture smooth and glossy.
Each ingredient plays a pivotal role, making your watermelon mochi not just delicious but also a fun kitchen project. If you'd like to learn more about the health benefits of watermelon, check out research from the National Watermelon Promotion Board! So, are you ready to dive into this deliciously unique homemade treat? Let’s get started!
Preparing Watermelon Mochi
Making watermelon mochi is a delightful and straightforward process that will impress your friends and family alike! Let's dive into the steps and create this refreshing treat together.
Gather Your Ingredients
Before you start, let's make sure you have all the necessary ingredients at hand. Here’s what you’ll need:
- 200g Glutinous rice flour (this gives our mochi its signature chewiness)
- 65g Granulated sugar (for sweetness)
- 40g Corn starch (to help with texture)
- 240ml Watermelon juice (the star of the show!)
- 1 ½ tablespoon Vegetable oil (to keep the mixture smooth)
Make sure to check out high-quality fruits at your local market or grocery store, as the flavor of the watermelon juice can really impact the final result.
Make the Watermelon Juice
First things first—let's turn that luscious watermelon into juice! Simply chop the watermelon flesh into chunks and place it in a blender. Blend until smooth, then strain it through a fine mesh sieve to remove any pulp or seeds. This step ensures a silky smooth texture, which is essential for your watermelon mochi.
Combine the Ingredients
In a mixing bowl, combine the glutinous rice flour, granulated sugar, and corn starch. Mix well to ensure that everything is evenly incorporated. Next, pour in your freshly strained watermelon juice along with the vegetable oil. Whisk until the mixture becomes smooth and homogenous. This step is crucial for preventing lumps in your mochi!
Cook the Mochi Mixture
Now it's time to bring the mixture to life. Heat a deep frying pan or saucepan over medium heat, and pour in your mochi mixture. Stir consistently for about 5 to 8 minutes, or until it thickens and turns a beautiful dark pink, translucent color. The mixture should feel very sticky—this is how you know you’re on the right track for that perfect watermelon mochi texture!
Mold and Cool the Mochi
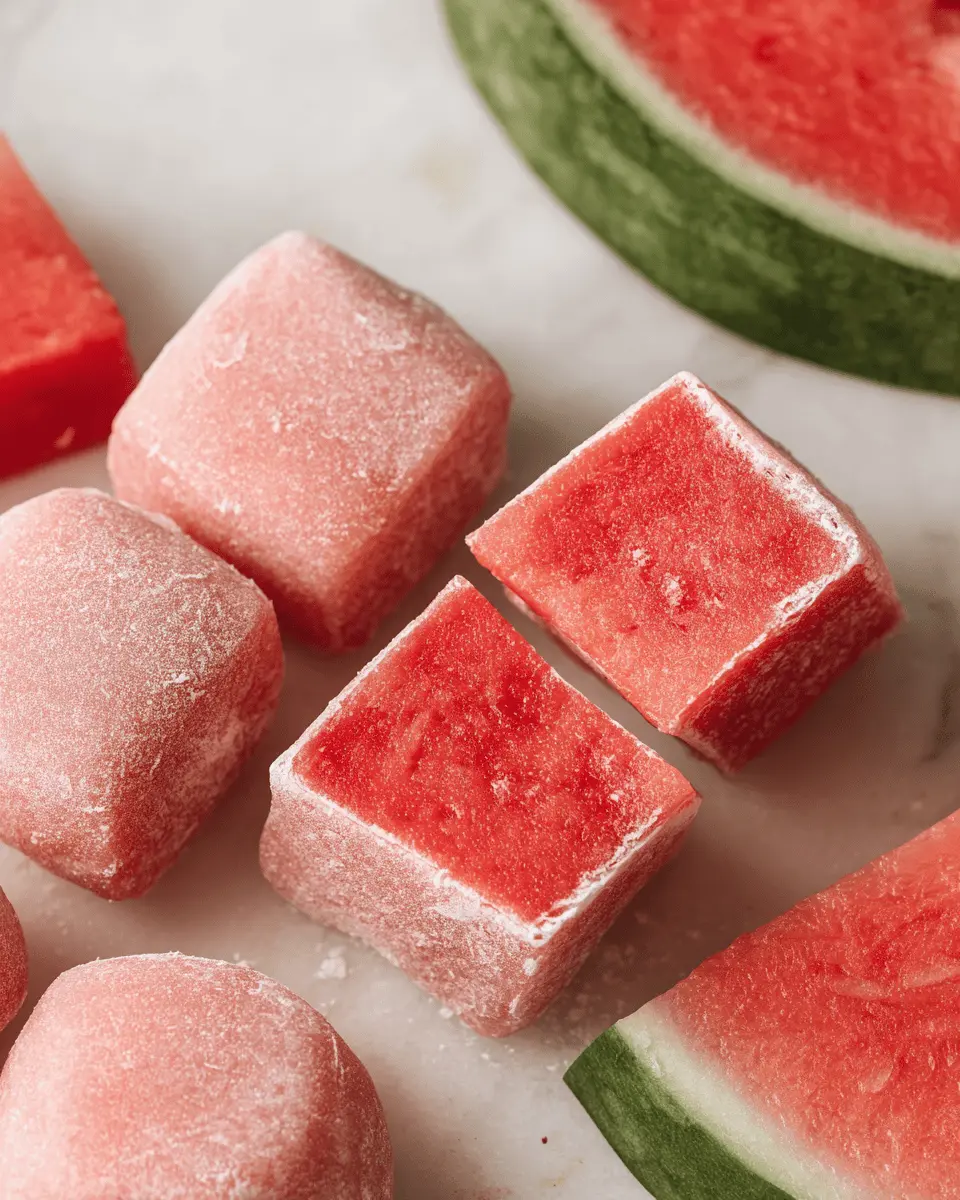
Prepare a 12cm x 12cm square mold or any small rectangular container by lining it with parchment paper. Carefully pour the hot mochi mixture into the mold, using a spatula to smooth it out and compress it down. Now, allow the mochi to cool in the fridge for about 1 to 2 hours, or until it becomes slightly firm. Patience is vital here!
Shape and Dust the Pieces
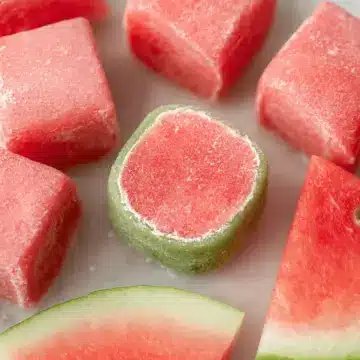
Once the mochi has chilled, dust your work surface with corn starch to keep it from sticking. Gently remove the mochi from the mold and place it on the flour-dusted surface. Sprinkle more corn starch on top, then use an oiled knife to cut it into 12 pieces. Make sure to dust all sides of each piece with corn starch to prevent sticking. Voila! Now you have delightful little squares of watermelon mochi ready to enjoy.
Feel free to share this recipe with your friends or experiment with different fillings for your mochi. Happy cooking!
Variations of Watermelon Mochi
Matching flavors with seasonal fruits
While watermelon mochi is delicious on its own, consider exploring the vibrant world of seasonal fruits to elevate your taste experience. For instance, combining fresh blueberries or strawberries not only adds beauty but also delightful flavor contrasts. Imagine a refreshing burst of berry alongside the sweet watermelon; it’s like a summer picnic in every bite! You can find seasonal fruit pairings at local farmers' markets or try recipes that showcase these ingredients, like this one from Epicurious.
Adding fillings for surprise bites
Another fantastic twist on the classic watermelon mochi is to add unexpected fillings. Creamy coconut*, *sweet red bean paste*, or even a bit of matcha *ganache* can create delightful surprises as you sink your teeth into each mochi. This not only enhances the texture but also adds deeper layers of flavor that keep everyone guessing. Experimenting with fillings is a great opportunity to reflect your personal taste or impress guests with unique flavor combinations!
For more tips on mochi variations, check out Serious Eats.
Cooking Tips and Notes for Watermelon Mochi
Creating the perfect watermelon mochi is an enjoyable adventure! Here are some helpful tips to ensure success in your kitchen:
-
Fresh Watermelon Juice: Use ripe watermelon for the juiciest flavor. The juicer method can offer a smoother consistency, but blending works just as well—just don’t forget to strain!
-
Sticky Consistency: Getting the right sticky texture is key. When cooking the mixture, stir consistently and look for a thick, translucent appearance.
-
Dusting with Cornstarch: Cornstarch prevents sticking, allowing you to handle your mochi easily. Be generous when dusting the surface and the pieces.
For more ingredient tips, check Serious Eats to ensure your watermelon is at peak freshness! Enjoy making this delightful treat.
Serving Suggestions for Watermelon Mochi
Pairing with Fresh Fruits
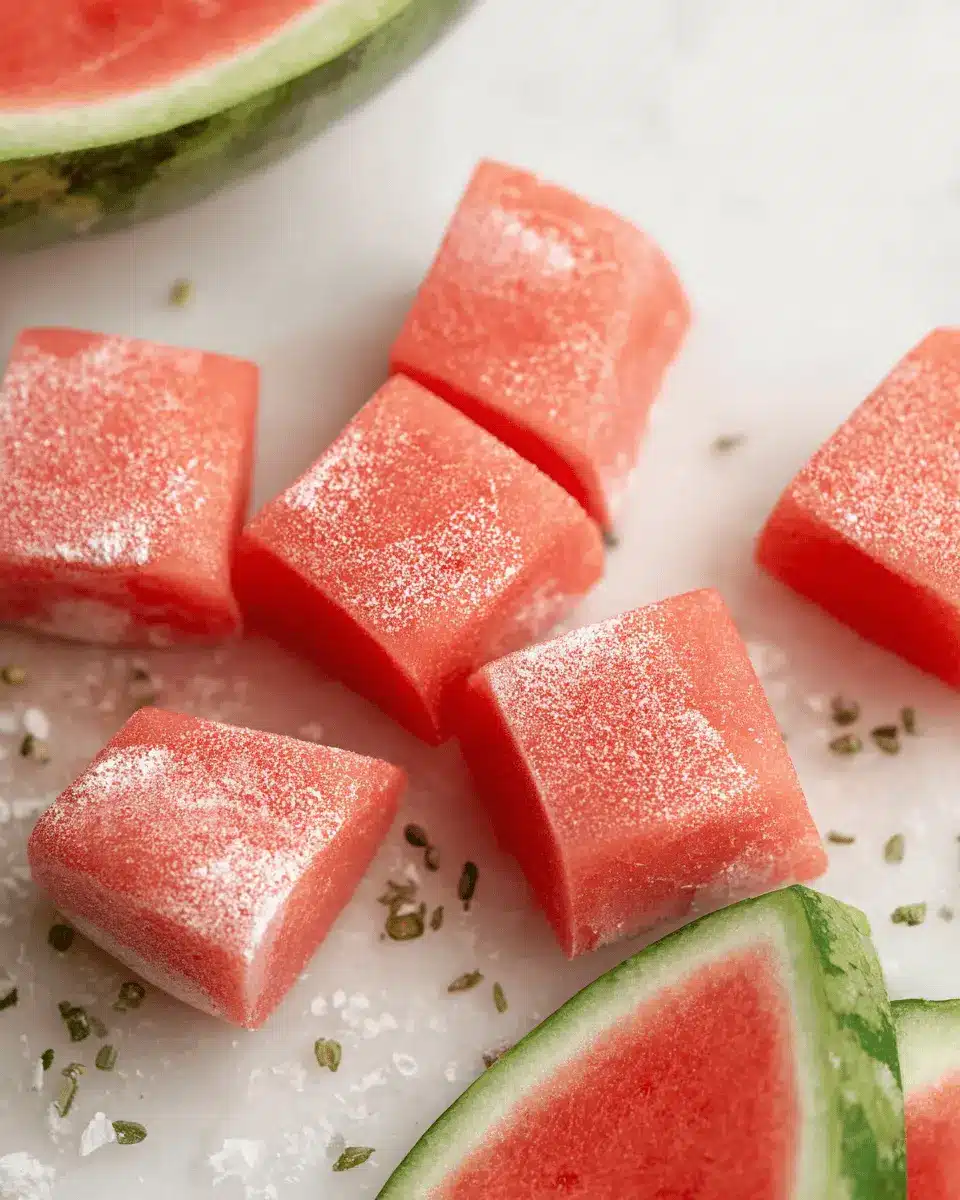
Elevate your watermelon mochi experience by pairing it with fresh fruits like strawberries, kiwis, or blueberries. The sweetness of the mochi complements the tartness of these fruits beautifully. Consider creating a colorful fruit platter to serve alongside your mochi, offering a refreshing contrast that excites the palate. For an extra kick, drizzle some honey or a light citrus dressing over the fruits to enhance their natural flavors.
Perfect for Summer Gatherings
Watermelon mochi makes a delightful addition to any summer gathering. Whether you're hosting a backyard barbecue or a picnic in the park, these chewy treats are easy to serve and eat. You can even present them on a decorative platter as a fun, interactive dessert option. To make your outdoor events even more refreshing, pair the mochi with a chilled herbal iced tea or sparkling water infused with mint and cucumber. This pairing will keep your guests cool while enjoying the summer vibes!
By incorporating these serving suggestions, you’ll create an inviting atmosphere that showcases your delicious watermelon mochi. Why not impress your friends with a combination of delightful flavors and textures?
Time Breakdown for Watermelon Mochi
Preparation Time
Creating your watermelon mochi starts with just 5 minutes of prep work! This is the perfect chance to gather your ingredients and whip up some delicious, homemade watermelon juice.
Cooking Time
The cooking itself takes about 15 minutes. During this time, you'll enjoy seeing the mochi mixture transform into its delightful, sticky consistency.
Total Time
From start to finish, you're looking at a quick and easy total of 20 minutes of hands-on work. Keep in mind that the mochi will need a little extra chilling in the fridge for 1-2 hours before it's ready to enjoy!
If you want to learn more about the health benefits of watermelon and discover more ways to use the refreshing fruit, you can check out Healthline. Happy cooking!
Nutritional Facts for Watermelon Mochi
When indulging in homemade watermelon mochi, it’s great to know what you’re savoring! Here’s a quick look at the key nutritional facts:
Calories
Each piece of watermelon mochi contains approximately 60 calories. This makes it a delightful treat without overindulging.
Carbohydrates
Watermelon mochi packs about 14 grams of carbohydrates. Most of these come from the glutinous rice flour and sugar, providing that chewy texture we love.
Sugar Content
With roughly 3 grams of sugar per piece, this mochi strikes a balance. It’s sweet but not overly so, thanks to the natural flavor of fresh watermelon juice.
Understanding these nutritional aspects can help you make mindful choices while enjoying this unique and delicious dessert. If you're curious about the health benefits of watermelon, check out this health article.
Feeling inspired to create your own? Dive back into the recipe and experience the chewy sweetness of watermelon mochi!
FAQs about Watermelon Mochi
Can I use other fruits for mochi?
Absolutely! While this recipe highlights the refreshing taste of watermelon mochi, feel free to experiment with other fruits like mango, strawberry, or even lychee. Just make sure to adjust the sugar and use freshly squeezed juice to keep that delightful flavor intact! For tips on using different fruits, check out sources like Serious Eats.
How do I store leftover mochi?
To keep your mochi fresh, store any leftovers in an airtight container. You can place parchment paper between layers to prevent sticking. Keep it in the refrigerator for up to a week. Just be sure to dust it with cornstarch to keep it from becoming too sticky.
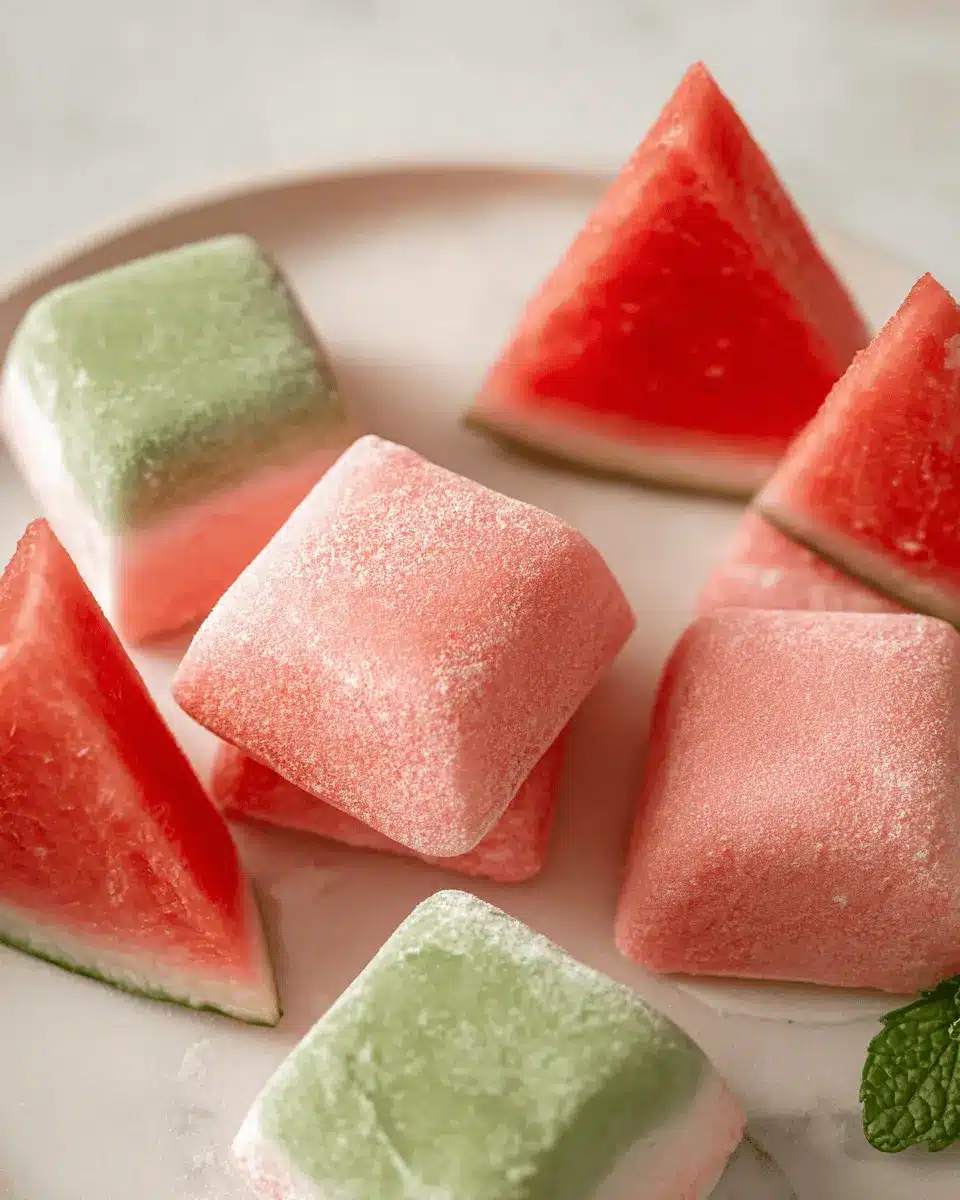
What’s the best way to serve mochi?
Watermelon mochi is best enjoyed chilled! Cut it into squares and serve it as a refreshing snack at summer gatherings or as an elegant dessert for dinner parties. Pair it with a scoop of ice cream or some fresh fruit for an extra special touch!
Conclusion on Watermelon Mochi
In summary, making watermelon mochi is a delightful way to cool off and impress your friends with a unique dessert. Its soft, chewy texture paired with refreshing watermelon makes each bite unforgettable. So, get ready to enjoy this delightful treat, and don’t forget to share your experience!
Watermelon Mochi
Equipment
- blender
- fine mesh sieve
- bowl
- deep frypan
- spatula
- square mold
Ingredients
Mochi Ingredients
- 200 g Glutinous rice flour
- 65 g Granulated sugar
- 40 g Corn starch
- 240 ml Watermelon juice, strained
- 1.5 tablespoon Vegetable oil
Instructions
Mochi Preparation
- To make the watermelon juice place watermelon flesh in a blender and blitz until smooth, then pass through a fine mesh sieve to remove any pulp
- Combine the glutinous rice flour, sugar, and cornstarch in a bowl
- Add the watermelon juice and oil, and whisk until smooth
- Heat a deep frypan or saucepan over medium heat and add the mochi mixture
- Heat, stirring consistently, for 5-8 minutes, or until the mochi mixture thickens and changes into a dark pink translucent color (the mixture should be very sticky)
- Remove from the heat
- Prepare a 12cm x 12 cm square mold and line it with parchment paper, if you don’t have that size any small rectangular container should work
- Pour the warm mochi into the lined mold and press it down the the spatula to flatten it
- Place the mochi in the fridge to cool for 1-2 hours, or until slightly firmed up
- Dust your work surface with cornstarch
- Remove the mochi from the mold and place it on the dusted surface
- Dust the top of the mochi with more cornflour and cut it into 12 pieces of mochi with an oiled knife
- Separate the pieces and dust all sides of the mochi with cornflour
- Enjoy!


Leave a Reply