
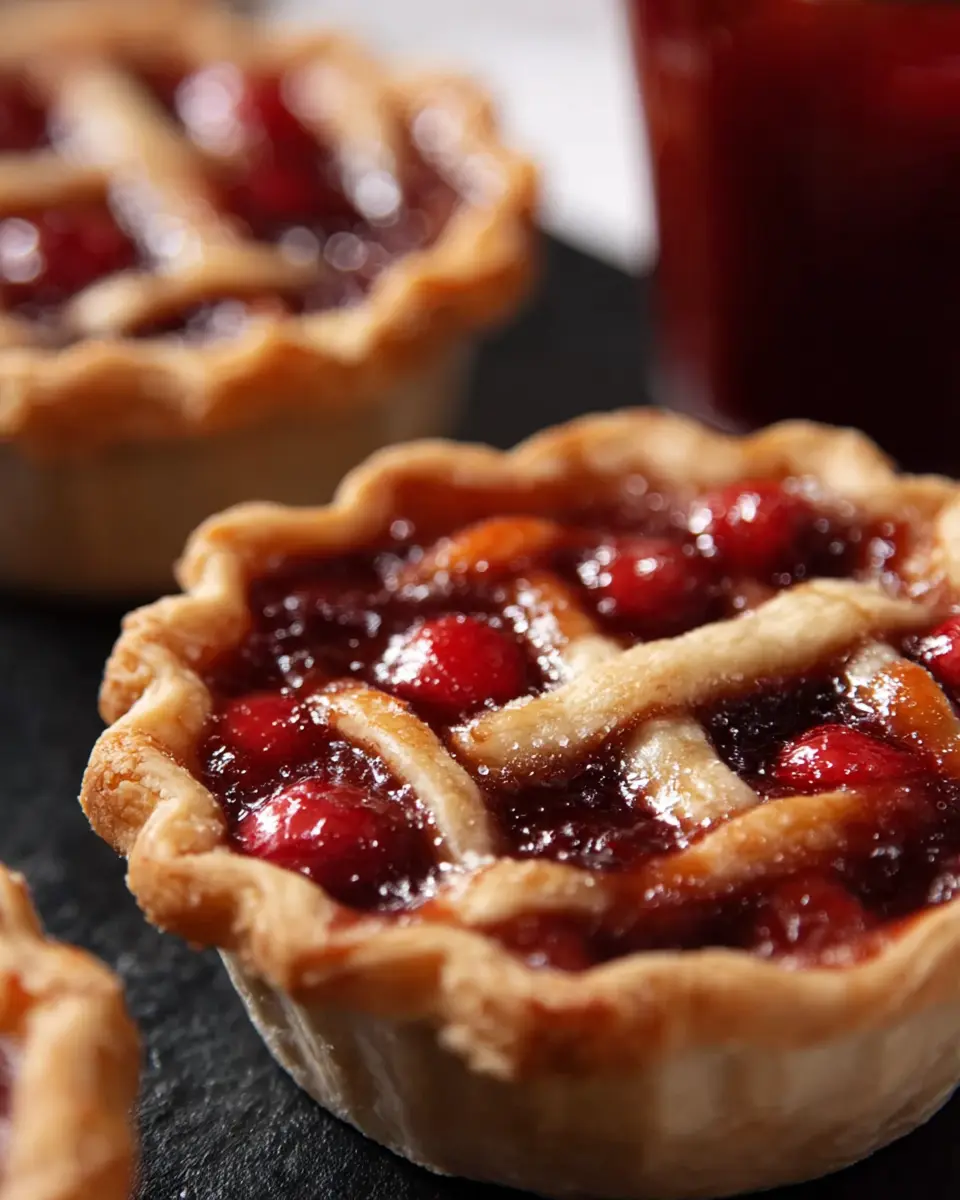
Introduction to Cherry Pie Filling
Making your own cherry pie filling is a delightful game-changer for dessert lovers. Why settle for store-bought when you can whip up a batch that's bursting with flavor and freshness? With just three simple ingredients—pitted tart cherries, sugar, and cornstarch—you can create a filling that elevates any pie or even a cobbler. Plus, you can use either fresh or frozen cherries, making this recipe a year-round treat!
Homemade cherry pie filling not only allows you to control the sweetness but also gives you the satisfaction of creating something from scratch. You avoid the artificial flavors and preservatives found in many commercial options, ensuring every bite is wholesome and delicious. Imagine serving a warm slice of pie, with your own cherry filling glistening in the center, at your next gathering. It’s bound to impress!
For those wondering, the process is straightforward. After simmering your cherries, you simply add a blend of sugar and cornstarch to thicken up the juices. It’s a fun activity to do alone or with friends. Before you know it, you’ll be craving pie as much as you are comfortable with your newfound skills. Ready to dive in? Let’s get cooking!
Ingredients for Cherry Pie Filling
When it comes to making a delightful cherry pie filling, simplicity is key! This recipe requires just three ingredients, making it both easy and fun to whip up in your kitchen. Here’s what you’ll need:
- 4 cups pitted tart red cherries: Whether you opt for fresh or frozen, the tartness of the cherries is essential for that classic flavor. Fresh cherries can offer a brighter taste, while frozen ones are super convenient and just as delicious.
- 1 cup white sugar: This will balance the tartness of the cherries and make your filling sweet and inviting. Adjusting the sugar level to your taste can help cater to different palates.
- ¼ cup cornstarch: This ingredient acts as a thickening agent. Make sure to whisk it with the sugar before mixing it with the cherries to achieve a perfectly smooth consistency.
Ready to create this cherry pie filling? Let’s get started so you can enjoy the fruits of your labor in your next pie!
For tips on selecting cherries, check out the Cherry Marketing Institute for inspiration.
Preparing Cherry Pie Filling
Making your own cherry pie filling is not only rewarding but also incredibly simple! With just three ingredients, you're well on your way to creating a delicious addition to your favorite desserts. Let's dive into the steps to prepare your cherry pie filling.
Gather Your Ingredients
Before you begin the cooking process, it's essential to have everything ready. For this easy cherry pie filling, you'll need:
- 4 cups pitted tart red cherries (fresh or frozen)
- 1 cup white sugar
- ¼ cup cornstarch
Having everything measured out and on hand will save you time and make the cooking process smoother. Remember, using tart cherries tends to offer the best flavor profile for your pie!
Cook the Cherries
Now, it’s time to bring those cherries to life! Place the cherries into a medium saucepan over medium heat. Cover them and stir often. What you're looking for is for the cherries to release their natural juices and start to simmer—this should take about 10 to 15 minutes.
Cooking your cherries helps to soften them and enhance their flavor, making your cherry pie filling truly irresistible. If you’re using frozen cherries, be sure to give them extra time to thaw and release their juices.
Mix the Sugar and Cornstarch
While your cherries are cooking, let’s get the sweetening part underway. In a separate bowl, whisk together the sugar and cornstarch. This step is crucial because it ensures that the cornstarch blends well with the sugar before hitting the heat. If you want to dive deeper into the science behind this, check out this resource on cornstarch as a thickening agent.
Combine and Simmer
Once your cherries are simmering beautifully, it's time to add in the sugar and cornstarch mixture. Pour it into the saucepan and stir well to combine. Continuing to simmer over low heat, cook until the mixture thickens—this usually takes about two minutes. You'll notice that the filling transforms into a delightful, glossy blend perfect for your pie!
Cool and Store
After thickening, remove the saucepan from the heat and let your cherry pie filling cool down. It’s best to let it sit until it reaches room temperature. If you’re not using it immediately, consider transferring it to an airtight container and storing it in the refrigerator. This cherry pie filling can last up to a week, so you can make it ahead of time!
Making your own cherry pie filling is a game changer. Not only does it taste fresher than anything you can buy in a can, but it also gives you the satisfaction of creating something delicious from scratch. Enjoy this versatile filling beyond just pies—try it over ice cream or pancakes for a delightful treat!
Variations on Cherry Pie Filling
Using Different Types of Cherries
While tart red cherries are the classic choice for cherry pie filling, feel free to experiment! Sweet cherries, such as Bing or Rainier, can add a lovely richness. You could even combine varieties for a more complex flavor profile. Just remember that sweeter cherries might require less sugar, so adjust accordingly. For unique flair, try using sour cherries or even canned options — just drain them well!
Adding Spices for Flavor
Elevate your cherry pie filling by incorporating spices and flavorings. A sprinkle of cinnamon or nutmeg can add warmth, while a dash of almond extract gives a delightful nuttiness. Some chefs even like to use a bit of lemon zest for brightness. The right spices can transform your filling from basic to extraordinary, making your pie a standout dessert! For more tips on flavor combinations, check out this spice guide for inspiration.
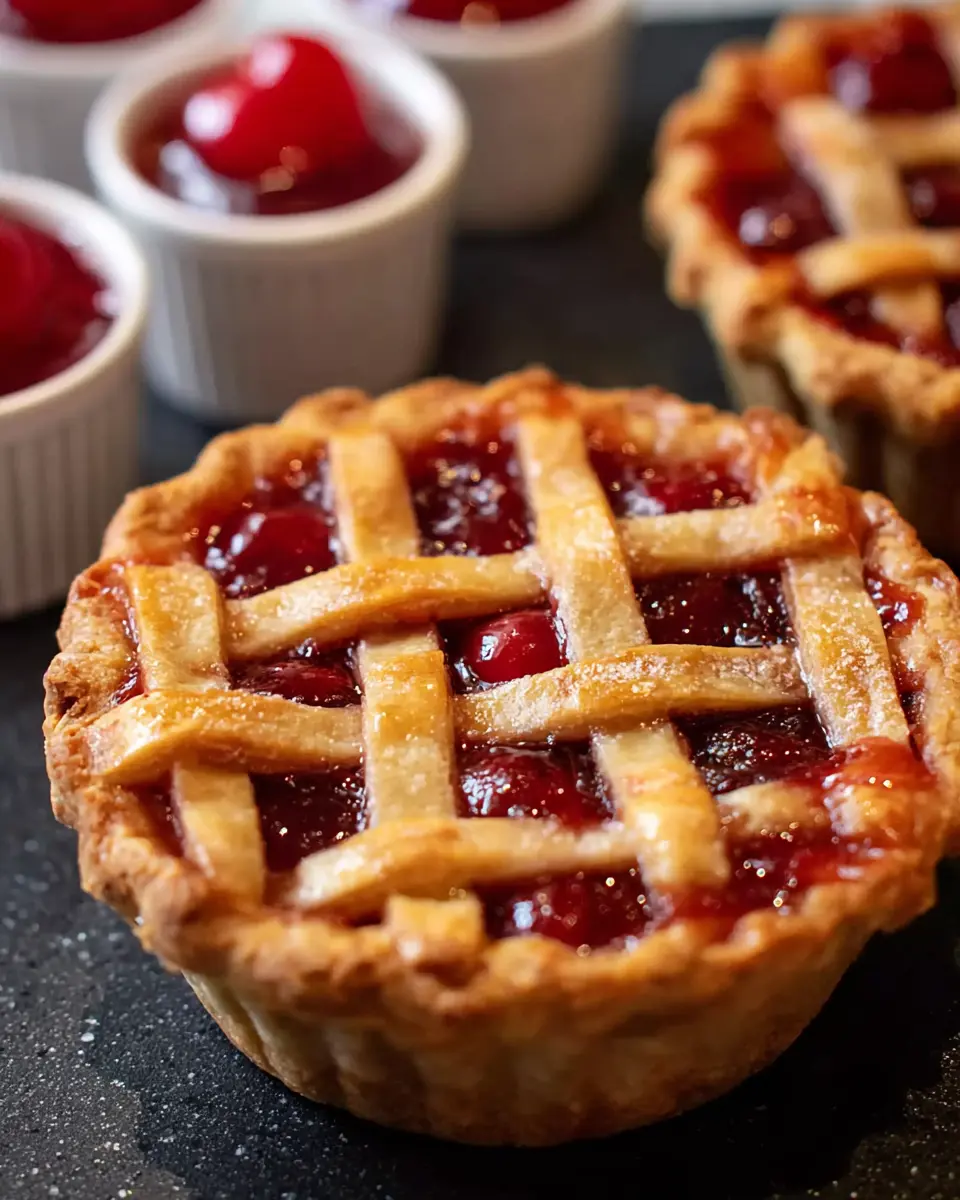
Cooking tips and notes for Cherry Pie Filling
Ensuring the best texture
To achieve a delightful cherry pie filling, consistency is key. Avoid overcooking the cherries, as they can turn mushy. Aim for a gentle simmer until the cherries just start to soften. You can also consider adding a splash of lemon juice for a zesty contrast that enhances both flavor and texture.
Prepping ahead for convenience
If you're short on time, prepare your cherry pie filling in advance! This can be refrigerated for up to a week, allowing the flavors to meld beautifully. You can also freeze it in airtight containers for up to three months—simply thaw it before using. This will make last-minute baking a breeze, perfect for unexpected guests or cravings!
For more cherry-related tips and recipes, check out this helpful guide on selecting the best cherries for your desserts.
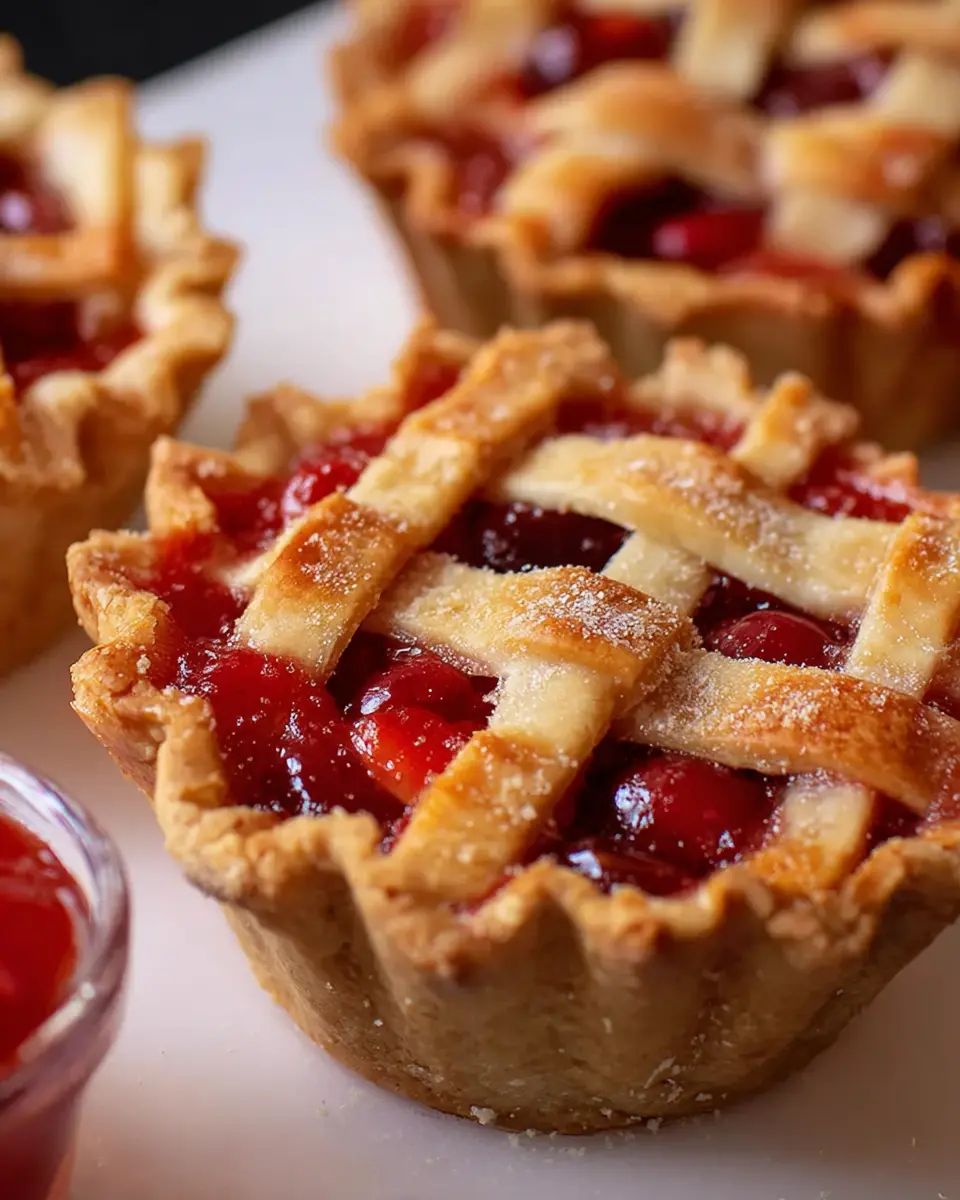
Serving Suggestions for Cherry Pie Filling
Pie Ideas Beyond the Classic
When you think of cherry pie filling, the classic pie immediately comes to mind, but why not expand your repertoire? Consider creating a luscious cherry galette, which offers a rustic twist, or how about a cherry hand pie for a fun, portable option? Both of these alternatives maintain that delightful tartness and sweetness that makes cherry pie filling a favorite.
Pairing with Desserts and Breakfast Treats
Don’t limit yourself to just pies! You can elevate various dishes with your homemade cherry pie filling. Try spooning it over pancakes or waffles for a sweet breakfast treat. It also makes a perfect topping for ice cream, yogurt, or cheesecake. If you’re feeling adventurous, mix it into a batch of muffins or swirl it into oatmeal for a burst of flavor. The possibilities are endless, so let your creativity run wild!
For more delicious ideas, check out Baker's Journal for inspiration that complements your cherry creations.
Time Breakdown for Cherry Pie Filling
When you're gearing up to make cherry pie filling, it's important to know how much time to allocate. Here’s a quick overview to help you plan your baking session effectively.
Preparation Time
Getting your ingredients ready will take about 25 minutes. Use this time to wash and pit your cherries, measure out your sugar and cornstarch, and make sure everything is set for a seamless cooking process.
Cooking Time
Once you're prepared, cooking the filling will take roughly 15 minutes. You'll cook the cherries until they’re simmering and then mix in the sugar and cornstarch for just a couple more minutes until everything thickens beautifully.
Total Time
In just about 40 minutes, you can have a delightful cherry pie filling ready to go. This quick turnaround means less time in the kitchen and more time enjoying the fruits of your labor!
For more tips on using your cherry pie filling, check out this guide on fruit-based desserts!
Nutritional Facts for Cherry Pie Filling
When you're indulging in a delicious slice of cherry pie filling, it's good to know what you're enjoying. Here's a quick breakdown of the nutrition in this delightful treat:
Calories
Each serving of cherry pie filling comes in at around 219 calories. This makes it a sweet yet manageable option for dessert lovers.
Sugars
With a total sugar content of 47 grams per serving, this filling definitely satisfies your sweet tooth. Perfect for balancing the tartness of those cherries!
Fiber
Each bite of cherry pie filling boasts about 2 grams of dietary fiber. While it may not replace your daily greens, it adds a little extra nutritional value to your dessert experience.
For more detailed nutritional insights, you might find the USDA's FoodData Central useful. This resource provides an extensive database for various ingredients, ensuring you can track your diet effectively. Enjoy your cherry pie!
FAQs about Cherry Pie Filling
Can I use frozen cherries?
Absolutely! Frozen cherries are a fantastic alternative to fresh ones for your cherry pie filling. They’re convenient and often just as flavorful. Just remember to let them thaw and drain any excess liquid before using them in your filling to prevent it from becoming too watery.
How long can I store homemade cherry pie filling?
Homemade cherry pie filling can be stored in an airtight container in the refrigerator for up to one week. If you want to keep it longer, consider freezing it! It can last up to six months in the freezer. Just make sure to label your container with the date so you can enjoy it at its freshest.
What’s the best way to thicken cherry pie filling?
For a perfectly thick cherry pie filling, cornstarch is your best friend. In this recipe, the combination of cornstarch and sugar does the trick beautifully. If you prefer a different texture, you can also use tapioca flour or arrowroot as alternatives. Just remember to cook the filling until it thickens nicely to enhance its flavor!
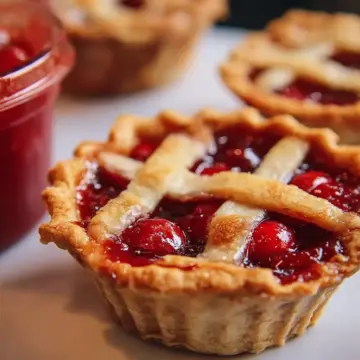
Conclusion on Cherry Pie Filling
Creating your own cherry pie filling at home is both simple and rewarding. With just three key ingredients, you can enjoy a fresh, flavorful filling that's perfect for any pie. Whether you use fresh or frozen cherries, this delightful recipe is sure to satisfy your sweet tooth. Enjoy!
Cherry Pie Filling
Equipment
- saucepan
Ingredients
- 4 cups pitted tart red cherries
- 1 cup white sugar
- ¼ cup cornstarch
Instructions
- Gather the ingredients.
- Place cherries into a saucepan over medium heat. Cover and cook, stirring often, until cherries release their juices and come to a simmer, 10 to 15 minutes.
- Whisk sugar with cornstarch in a bowl until combined; pour mixture into hot cherries and juice. Stir until thoroughly combined.
- Bring to a simmer over low heat; cook until thickened, about 2 minutes. Remove from heat and let cool before using as pie filling.
Leave a Reply