
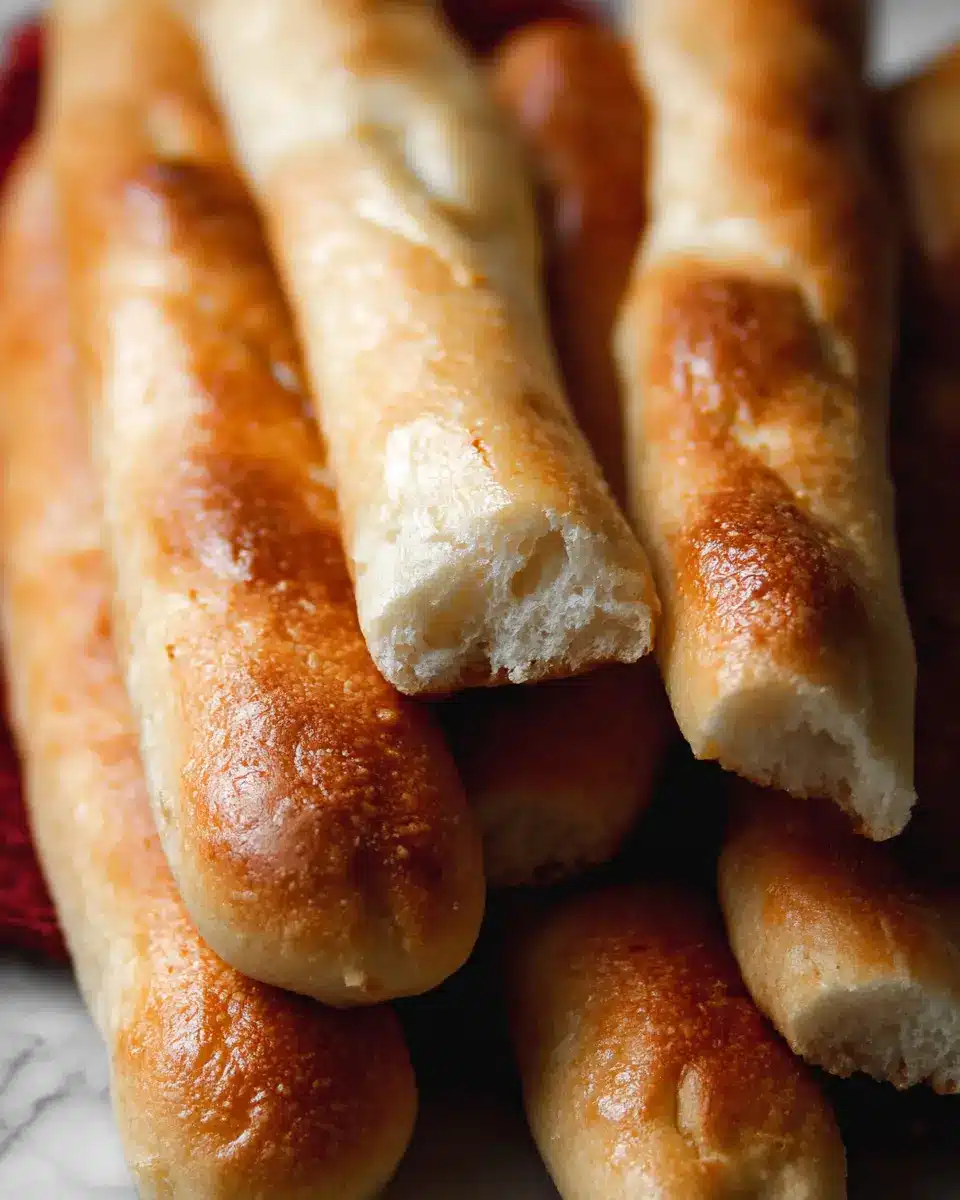
Introduction to Homemade Soft Breadsticks
Why Homemade Soft Breadsticks Are a Game-Changer for Young Professionals
If you’re a busy young professional, homemade soft breadsticks might not be the first dish that comes to mind when you're thinking about quick meals. But here's the secret: these delightful breadsticks can elevate your dinner game without taking up your entire evening. Imagine coming home after a long day, whipping up a batch of fluffy, buttery breadsticks in just over three hours—most of that time is hands-off!
With just a few common ingredients and some easy-glide recipes, you can create a magical side dish that pairs beautifully with everything from salads to soups and beyond. Plus, making them at home means you can adjust the flavors—add a sprinkle of garlic powder or your favorite herbs to personalize them. This not only fills your kitchen with an irresistible aroma but also gives you the satisfaction of baking something truly special.
So, the next time you have a cozy dinner planned or simply want a comforting snack, why not roll up your sleeves and dive into the world of bread-making? Your friends and family will thank you, and you'll impress yourself with how simple it can be! For more tips on yeast baking, check out my Baking With Yeast Guide, packed with insights that will turn you into a home-baking pro.
Ingredients for Homemade Soft Breadsticks
Creating homemade soft breadsticks requires just a few essential pantry staples. Here’s what you need:
Essential pantry staples for soft, fluffy breadsticks
- Warm Water: The foundation of your dough—keep it between 100°F to 110°F for optimal yeast activation.
- Yeast: You can use either instant or active dry yeast; both work wonders in making the breadsticks rise beautifully.
- Granulated Sugar: Just a little sweetness helps feed the yeast and enhance flavor.
- Unsalted Butter: Adds richness and a lovely texture to the breadsticks.
- Salt: Essential for flavor and balancing the sweetness of the sugar.
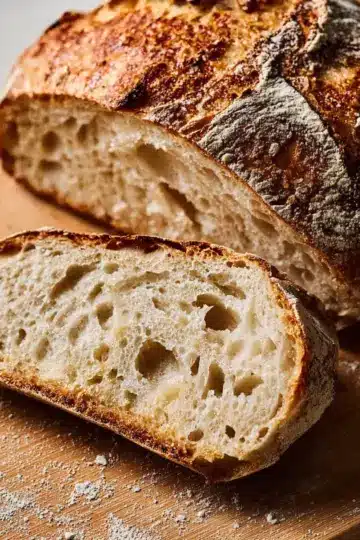
- Bread Flour: This is crucial for that perfect chewiness; feel free to use all-purpose flour if needed.
Optional toppings and variations to consider
Take your breadsticks to the next level! Consider adding:
- Garlic Powder: Stir it into the dough or sprinkle on top for that irresistible garlicky taste.
- Cheese: Shredded mozzarella or cheddar can be melted on top for a cheesy twist.
- Herbs: Fresh parsley or other favorite herbs can be added to enhance flavor and presentation.
If you want more tips on working with yeast, check out my Baking With Yeast Guide. Enjoy experimenting with flavors!
Preparing Homemade Soft Breadsticks
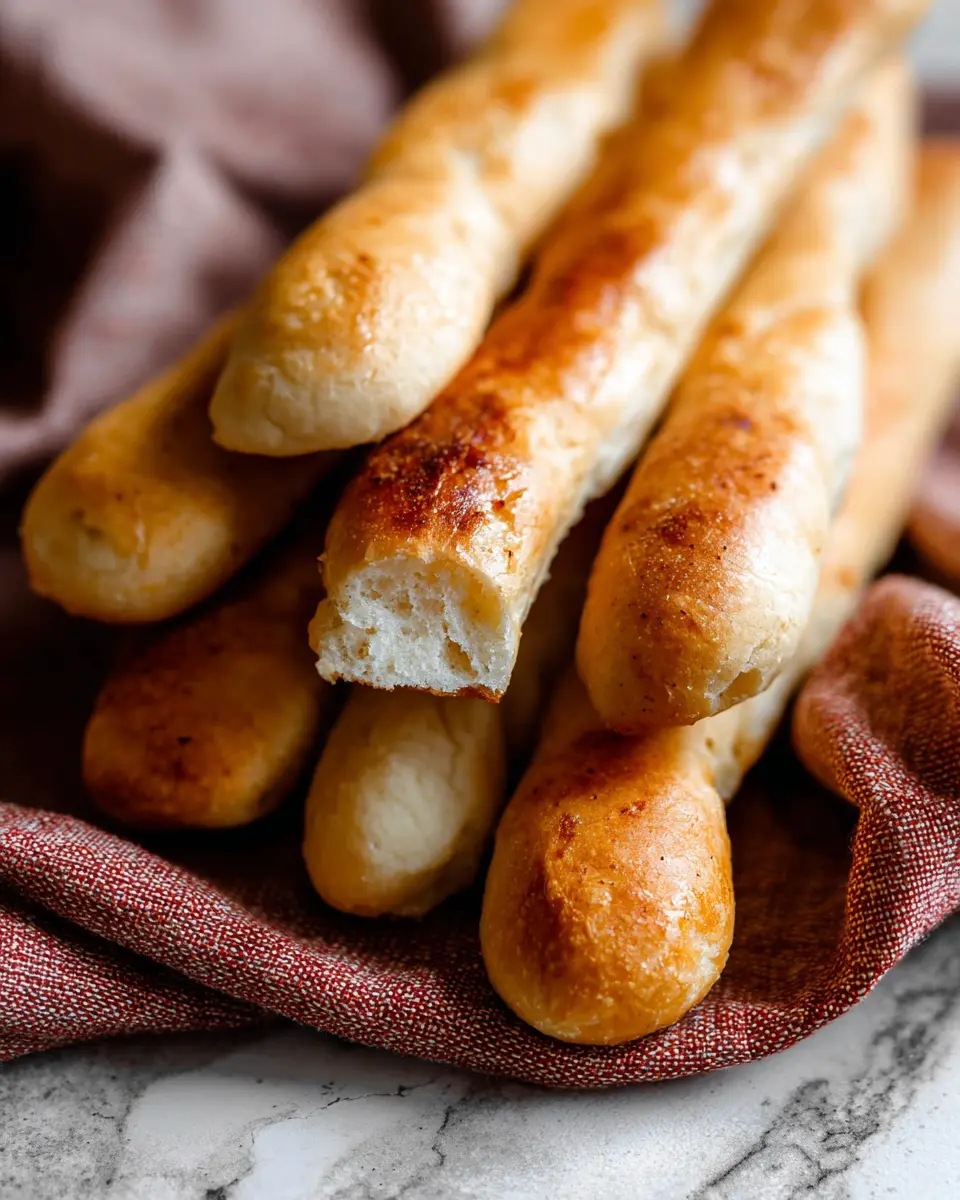
Making homemade soft breadsticks is a fun and satisfying process that results in warm, fluffy goodness perfect for any meal. Let’s break down the step-by-step preparation for these delightful breadsticks!
Activate the Yeast
Start with activating your yeast, which is a crucial step for ensuring your breadsticks turn out light and airy. In a mixing bowl, combine 1 and ¼ cups of warm water (about 100–110°F) with 2 and ¼ teaspoons of yeast and 2 tablespoons of granulated sugar. Allow this mixture to sit for 5-10 minutes until it becomes frothy and bubbly. This is a good time to preheat your mood for the delightful smell of fresh bread that’s about to fill your kitchen. If you need more guidance, check out this Baking With Yeast Guide for tips on managing yeast effectively.
Combine Ingredients and Make the Dough
Once your yeast has risen, it's time to blend in the other ingredients. Add 3 tablespoons of melted butter, 1 and ½ teaspoons of salt, and 3 and ⅓ cups of bread flour to your yeast mixture. Use a stand mixer with a dough hook or a strong wooden spoon if you're doing it by hand. Mix on low speed until everything comes together, then beat on medium until the dough pulls away from the bowl. If your dough feels too sticky, don’t hesitate to sprinkle in more flour until it’s manageable.
Knead the Dough to Perfection
Next, knead the dough until it’s truly smooth and elastic. If you're using a stand mixer, do this for about 8-10 minutes. Kneading helps develop gluten, which gives your breadsticks that sought-after chewy texture. If you’re kneading by hand, work it on a floured surface, adding only as much flour as you need to avoid sticking. Remember, a little tackiness is essential for softness!
First Rise for Fluffy Texture
Now that your dough is kneaded, it’s time for its first rise. Lightly grease a large bowl and place your dough inside, turning it to coat. Cover it with a clean kitchen towel or plastic wrap. Let it rise in a warm spot for about 1.5 to 2 hours, or until it doubles in size. A cozy spot in your kitchen works well, but if you’re looking for a tip, the top of your oven while preheating can be an excellent warm spot.
Shape the Breadsticks with Care
After the first rise, gently punch the dough down and divide it into even pieces—about 14 for lovely, thick breadsticks. Roll each piece into an 8-inch log. Be sure not to rush this process; a little care goes a long way in making sure your breadsticks look appealing!
Second Rise for Ultimate Fluffiness
Once shaped, cover your breadsticks again and let them rise for another 20 minutes while you preheat your oven to 400°F (204°C). This second rise is crucial—it’s when they get that lovely, puffed appearance.
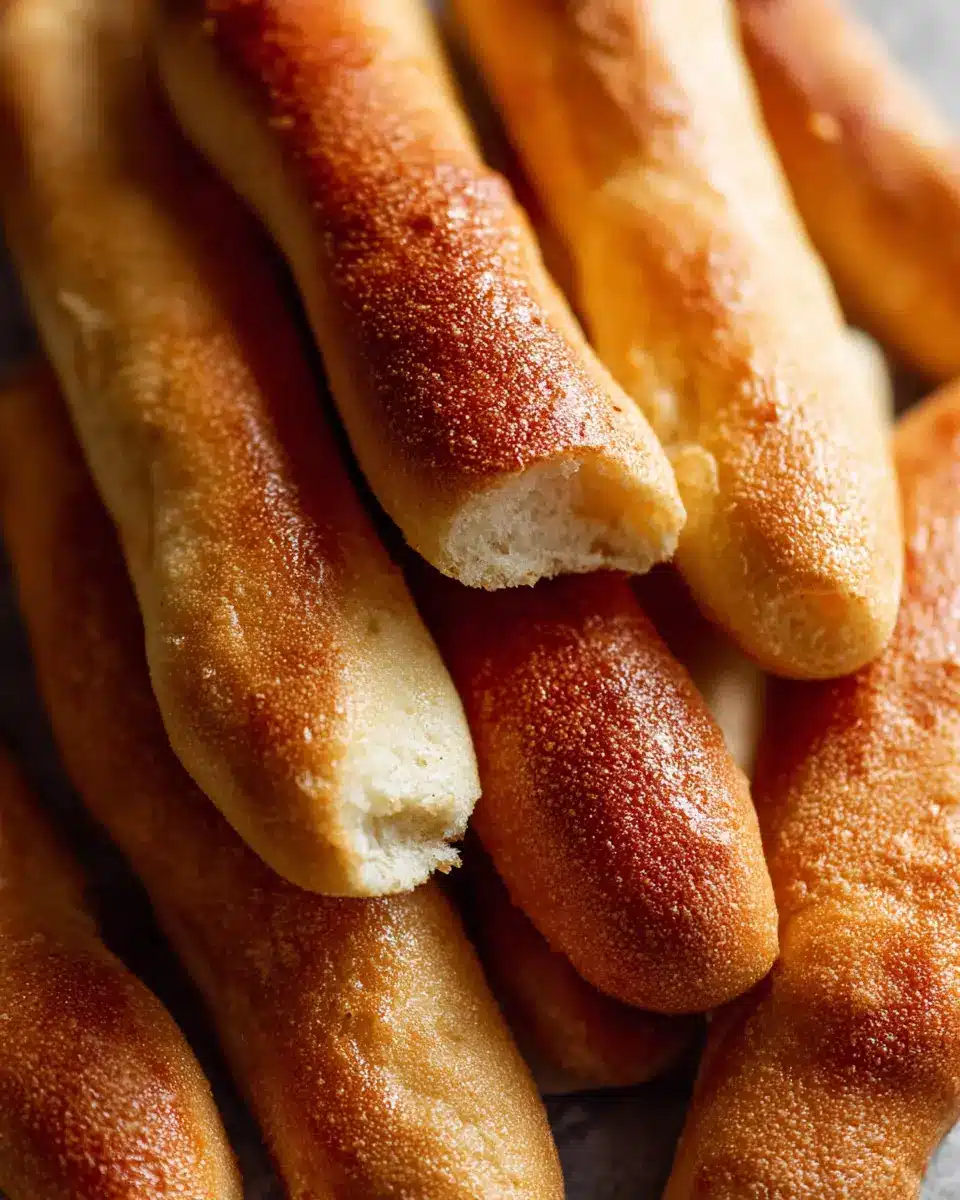
Bake and Prepare the Garlic Butter Topping
Finally, bake those breadsticks for 18-19 minutes until they turn golden brown. While they’re baking, melt 2 tablespoons of butter and stir in some salt and garlic powder for a delectable topping. Once your breadsticks are out of the oven, brush this garlic butter generously on top. The aroma will have your mouth watering!
Enjoy your homemade soft breadsticks fresh out of the oven, perhaps with a side of marinara or your favorite soup. They’re always a hit, so don’t be surprised if these become your new go-to recipe!
Variations on Homemade Soft Breadsticks
Cheese-topped breadsticks for an extra kick
If you're a cheese lover, consider adding a delicious layer of cheese atop your homemade soft breadsticks. After baking for about 15 minutes, pull them out of the oven and carefully push the sticks together. Brush with the garlic butter topping and sprinkle on a generous 1 cup of shredded mozzarella or cheddar (that's about 110g). Pop them back in the oven for a few more minutes until the cheese is perfectly melted. The gooey, cheesy topping adds an irresistible flavor that pairs wonderfully with a classic marinara dip.
Herb-infused variations to enhance flavor
Want to elevate your homemade soft breadsticks even further? Infusing the dough with dried herbs is an excellent way to enhance the flavor profile. Try mixing in a teaspoon of dried oregano, basil, or rosemary when you combine your dry ingredients. Alternatively, for a fragrant finish, sprinkle your favorite fresh herbs—like parsley or thyme—right before serving. These simple tweaks not only complement the warm, buttery goodness but also make your breadsticks a captivating side for pasta or salad. For some extra inspiration on herb choices, check out this handy guide.
Whether you opt for cheesy goodness or aromatic herbs, these variations turn simple homemade soft breadsticks into a delightful culinary experience.
Cooking Tips and Notes for Homemade Soft Breadsticks
Common Pitfalls and How to Avoid Them
Making homemade soft breadsticks can be a joy, but it's easy to run into a few common pitfalls. One issue is using water that's too hot, which can kill the yeast. Aim for a temperature between 100–110°F (38–43°C) for best results. If your dough is too sticky, don't panic; adding flour a tablespoon at a time can help until it becomes manageable. Over-kneading can make your breadsticks tough, so stick to the recommended kneading times.
Storing and Freezing for Later Enjoyment
If you find yourself with leftovers—or if you want to prep ahead—storing and freezing your homemade soft breadsticks is a breeze! Keep them in an airtight container at room temperature for up to a day, or in the fridge for up to five days. For longer storage, freeze them! Wrap the cooled breadsticks tightly in plastic wrap and then place them in a zip-top bag. They can be frozen for up to three months. To enjoy later, simply warm them up in the oven or microwave.
For expert tips and tricks on working with dough, check out the King Arthur Baking for some excellent resources!
Serving Suggestions for Homemade Soft Breadsticks
Pairing Homemade Soft Breadsticks with Your Favorite Meals
When it comes to enjoying homemade soft breadsticks, think beyond just butter! These delightful treats are perfect alongside:
- Soups: Like comforting tomato or hearty vegetable soup.
- Salads: A fresh Caesar or Greek salad complements their fluffiness.
- Pasta Dishes: Whether it’s spaghetti or lasagna, they soak up the sauce beautifully.
- Family Dinners: Serve them alongside roasted chicken or turkey bacon for a satisfying meal.
These versatile breadsticks add a lovely touch to any dish, inviting everyone to the table!
Creative Dips to Complement the Soft Breadsticks
Enhance your homemade soft breadsticks with some exciting dips that turn any meal into a gourmet experience:
- Garlic Aioli: A creamy, garlicky dip that matches the breadsticks’ flavor perfectly.
- Marinara Sauce: A classic Italian pairing that’s always a crowd-pleaser.
- Olive Oil and Balsamic Vinegar: For a simple yet elegant option; just mix and dip!
- Spinach and Artichoke Dip: Creamy and rich, this dip will elevate your breadstick game.
Each dip offers a unique flair to your dining experience, letting you get creative and enjoy every bite!
Time Breakdown for Homemade Soft Breadsticks
Preparation Time
The prep time for your homemade soft breadsticks will take about 20 minutes. This includes mixing the dough and preparing it for its first rise.
Rising Time
Plan for approximately 2 hours for the dough to rise. It may take up to 1.5 to 2 hours to double in size, depending on the warmth of your kitchen.
Baking Time
The actual baking will only take around 18-19 minutes. Keep an eye on them to ensure they become a beautiful golden brown.
Total Time
From start to finish, you’ll be looking at roughly 3 hours for your delicious breadsticks, including both rising and baking times. Perfect for pairing with dinner or enjoying as a snack!
For more guidance on the yeast process and troubleshooting, check out my Baking With Yeast Guide. Happy baking!
Nutritional Facts for Homemade Soft Breadsticks
Calories per Breadstick
Each serving of these homemade soft breadsticks contains approximately 150 calories. With 14 breadsticks in this recipe, it's easy to enjoy them without stressing too much about your daily caloric intake.
Overview of Key Nutrients
These delightful breadsticks pack a tasty punch, with essential nutrients that make them an excellent side for any meal:
- Carbohydrates: A primary energy source, these breadsticks offer approximately 30 grams per stick.
- Protein: Each breadstick delivers about 4 grams of protein, aiding in muscle repair and growth.
- Fats: With 3.5 grams of fat (mostly from butter), you're getting a hint of richness.
For even more precise numbers, consider using a nutrition calculator or app! You can also check out the USDA’s Food Data Central for nutritional insights on your homemade ingredients. Enjoy making these breadsticks and feel good about treating yourself!
FAQs about Homemade Soft Breadsticks
How do I know if my yeast is active?
To ensure your yeast is active, mix it with warm water (between 100-110°F) and a bit of sugar. Let it sit for about 5-10 minutes. If the mixture becomes foamy and bubbly, your yeast is alive and ready to help create those perfectly soft breadsticks! For more about yeast, check out my detailed Baking With Yeast Guide.
Can I use all-purpose flour instead of bread flour?
Absolutely! While bread flour produces a chewier texture, all-purpose flour will still yield delicious, fluffy homemade soft breadsticks. If you have it on hand, go for it! Just remember that the texture might be a tad different.
How do I reheat leftover breadsticks?
Leftover breadsticks can be easily reheated! Wrap them in foil and warm them in a 300°F oven for about 10 minutes, or pop them in the microwave for 30 seconds. This helps retain their softness, making them just as delightful as when they came out of the oven!
Conclusion on Homemade Soft Breadsticks
Crafting your own homemade soft breadsticks is a delightful journey in the kitchen. The joy of savoring warm, buttery sticks, fresh out of the oven, is unmatched. Don’t hesitate to experiment—try adding herbs, cheese, or even spices. Enjoy the process and share your creations with friends!
The Joy of Homemade Breadsticks
Making breadsticks from scratch not only fills your home with an irresistible aroma, but it's also a wonderfully rewarding experience. There's something uniquely satisfying about kneading the dough and watching it rise—it's the essence of cooking! Whether you're serving them alongside a cozy family dinner or indulging in a homemade pizza night, these breadsticks are a hit.
Encouraging Experimentation in the Kitchen
Feel free to get creative with your homemade soft breadsticks! Consider adding different toppings, like cheese, or experimenting with various herbs to tailor them to your taste. Just remember, every attempt can teach you something new. So roll up your sleeves, embrace the mess, and have fun in the kitchen!

Homemade Soft Breadsticks
Equipment
- Stand Mixer
- baking sheets
- Mixing Bowl
- whisk
- silicone spatula
- Wooden Spoon
- Pastry brush
Ingredients
Dough Ingredients
- 1.25 cups warm water (between 100–110°F, 38–43°C)
- 2.25 teaspoons instant or active dry yeast (1 standard packet)
- 2 tablespoons granulated sugar
- 3 tablespoons unsalted butter melted
- 1.5 teaspoons salt
- 3.33 cups bread flour (spooned & leveled), plus more as needed
- 0.5 teaspoon garlic powder optional
Topping
- 2 tablespoons unsalted butter melted
- 0.25 teaspoon salt
- 0.25 teaspoon garlic powder
- dried parsley or other favorite herb optional for sprinkling on top
Instructions
Dough Preparation
- Whisk the warm water, yeast, and sugar together in the bowl of your stand mixer. Loosely cover and allow to sit for 5–10 minutes until foamy and frothy on top.
- Add the melted butter, salt, 1 cup of bread flour, and garlic powder, if using. Mix on low speed for 30 seconds, scrape down the sides, then add the remaining flour.
- Beat on medium speed until the dough comes together and pulls away from the sides of the bowl, about 2 minutes. If too wet, add more flour 1 tablespoon at a time.
Kneading
- Knead the dough in the mixer for additional 8-10 minutes, or by hand on a lightly floured surface for the same time.
First Rise
- Lightly grease a large bowl with oil or nonstick spray. Place the dough in the bowl and cover. Allow to rise in a warm environment for 1.5–2 hours or until double in size.
Shaping Breadsticks
- Line 2 baking sheets with parchment paper or silicone baking mats. Punch down the dough, divide in half, and shape each half into 7 equal pieces.
- Roll each piece into a log about 8 inches long. Arrange on baking sheets.
Second Rise
- Cover shaped breadsticks and allow to rise until slightly puffy, about 20 minutes.
Baking
- Preheat oven to 400°F (204°C). Remove the cover from breadsticks and bake for 18–19 minutes until golden brown.
Topping and Serving
- Melt butter and stir in salt and garlic powder. Brush on baked breadsticks before serving.
- Serve warm, and sprinkle with dried parsley or your favorite herb if desired.

Leave a Reply