
Introduction to Whipped Strawberry Tart
Why a whipped strawberry tart is a must-try dessert?
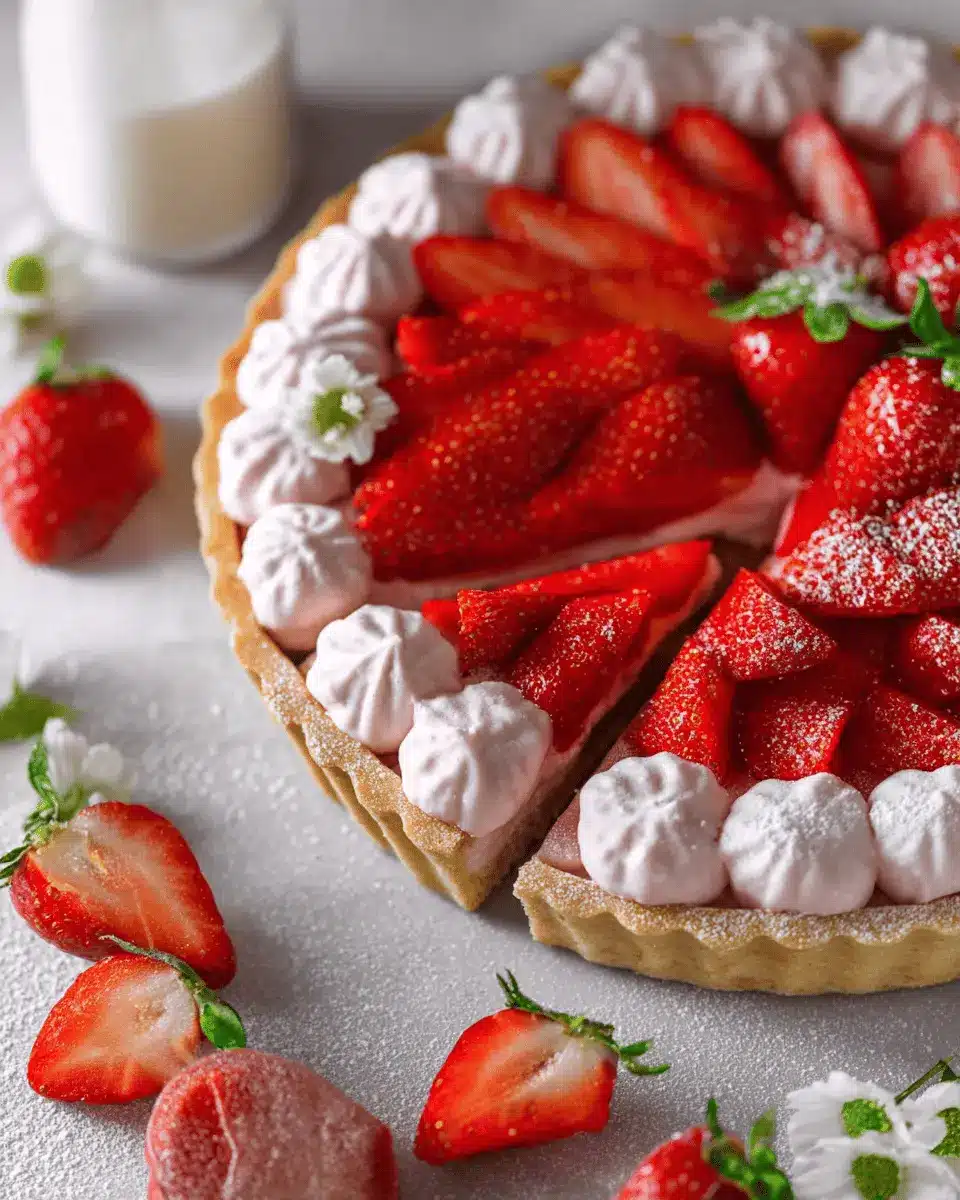
If you're looking to impress friends and family with a dessert that’s both stunning and scrumptious, a whipped strawberry tart is your answer. This delightful treat combines a crisp, buttery crust with a light and airy filling, making it the perfect balance of texture and flavor.
Imagine biting into a tart filled with luscious, fresh strawberries that burst with sweetness. Not only is it a feast for the eyes, but it’s also a crowd-pleaser that showcases the vibrant colors of ripe strawberries. With a prep time of just 35 minutes, plus chilling time, you can have this beauty ready for any occasion without spending all day in the kitchen.
Plus, strawberries are loaded with vitamin C, antioxidants, and other nutrients, making this dessert not just delicious but good for you too! Want to learn more about the health benefits of strawberries? Check out this Nutrition Facts page from the USDA.
From birthday celebrations to casual gatherings, a whipped strawberry tart adds a touch of elegance, making it a must-try dessert that you’ll want to serve time and again. So, grab your ingredients, and let’s whip up something fantastic!
Ingredients for Whipped Strawberry Tart
Creating a whipped strawberry tart is a delightful way to celebrate fresh fruit flavors and textures. Here’s a breakdown of the essential ingredients you’ll need for both the tart crust and the luscious whipped filling.
Tart Crust Ingredients
To start, you’ll need the perfect base for your tart:
- ½ cup unsalted butter (room temperature)
- ½ cup sugar
- 1 teaspoon vanilla extract
- 1 large egg (room temperature)
- 1 ¾ cups all-purpose flour
- ½ teaspoon salt
This combination yields a buttery, crisp crust that beautifully contrasts with the airy filling.
Whipped Strawberry Filling Ingredients
For the filling, gather these vibrant ingredients to achieve that delightful strawberry flavor:
- 400 g fresh strawberries (quartered; about 2 ½ cups)
- ½ cup water (or your favorite non-alcoholic sparkling beverage)
- ¾ cup sugar
- 2 teaspoon unflavored gelatin
- 1 tablespoon cornstarch
- 1 tablespoon water
- 4 oz cream cheese (room temperature)
- 1 ½ cups heavy cream
Using these ingredients allows you to whip up a strawberry filling that’s both rich and refreshing. Feel free to experiment with different berries or flavors and check out more tips on fruit-filled tarts through resources like The Spruce Eats. Enjoy crafting this delightful dessert!
Preparing the Whipped Strawberry Tart
Making a whipped strawberry tart is a delightful way to showcase fresh strawberries, and it can be a fun project in the kitchen. This step-by-step guide will help you navigate each stage of the recipe, ensuring you end up with a decadent dessert that’s sure to impress. Let’s dive in!
Create a Buttery Tart Crust
The foundation of your whipped strawberry tart begins with a buttery crust that provides the perfect crunch. In a medium-sized bowl, cream together ½ cup unsalted butter and ½ cup sugar on medium speed for about 4-5 minutes until it’s light and fluffy. It's essential to incorporate air into the mix, as this will give your crust that delightful texture.
Next, add 1 large room temperature egg and 1 teaspoon vanilla extract. Mix until fully combined. Then, gently fold in 1 ¾ cups all-purpose flour and ½ teaspoon salt, ensuring that they are just incorporated and form a soft dough. This crumbly miracle needs a little love, so turn it out onto a lightly floured surface. Use the heel of your hand to fraisage—this French technique helps prevent the dough from cracking. Wrap the dough in plastic wrap and refrigerate for at least 1 to 2 hours or overnight if you have the time.
Bake and Cool the Tart Shell
Once your dough has chilled, it’s time to bring it to life. Preheat your oven to 350°F and spray a 9-inch tart pan with baking spray to prevent sticking. Roll out your chilled dough to about ¼” thickness on a floured surface. How satisfying it is to see your dough transform!
Transfer the dough to the tart pan, trimming any excess, and dock the bottom with a fork to prevent bubbling during baking. Chill the shell again for about 30 minutes. This might feel like a lot of waiting, but it helps the crust maintain its shape when baking!
Now, let’s par-bake the tart crust! Place your tart pan on a baking sheet, cover it with parchment paper, and fill it with pie weights (dried beans or uncooked rice work great). Bake for about 20 minutes until slightly golden. Once baked, cool your shell on a wire rack—this is crucial so it can hold the luscious filling later!
Prepare the Strawberry Filling
With your tart crust cooling, it’s time to create the star of the show: the strawberry filling. In a blender, puree 400 g quartered fresh strawberries with ½ cup water until smooth. Pour this strawberry puree into a small saucepan and mix in ¾ cup sugar and 2 teaspoon unflavored gelatin over medium heat. Stir until both dissolve completely.
To thicken the filling, mix 1 tablespoon cornstarch with 1 tablespoon water and add that to your strawberry mix. Cook while constantly stirring until the mixture coats the back of a spoon. This shouldn’t take too long and rewards you with a beautiful, velvety filling. Let it cool for about an hour in the fridge.
Whip That Cream!
Now for the fun part—you’ll combine that luxurious strawberry mixture with whipped cream. In your stand mixer, beat 4 oz room temperature cream cheese until smooth. Gradually add in 1 ½ cups heavy cream, mixing on high speed until stiff peaks form. This luscious whipped cream will be the base for your tart's filling!
Gently fold in half of the cooled strawberry mixture until well combined, then spread this over the cooled tart crust. This harmonious layer of flavors and textures is crucial for a glorious whipped strawberry tart. Chill in the refrigerator for about 2-3 hours until everything is set.
Assemble and Chill
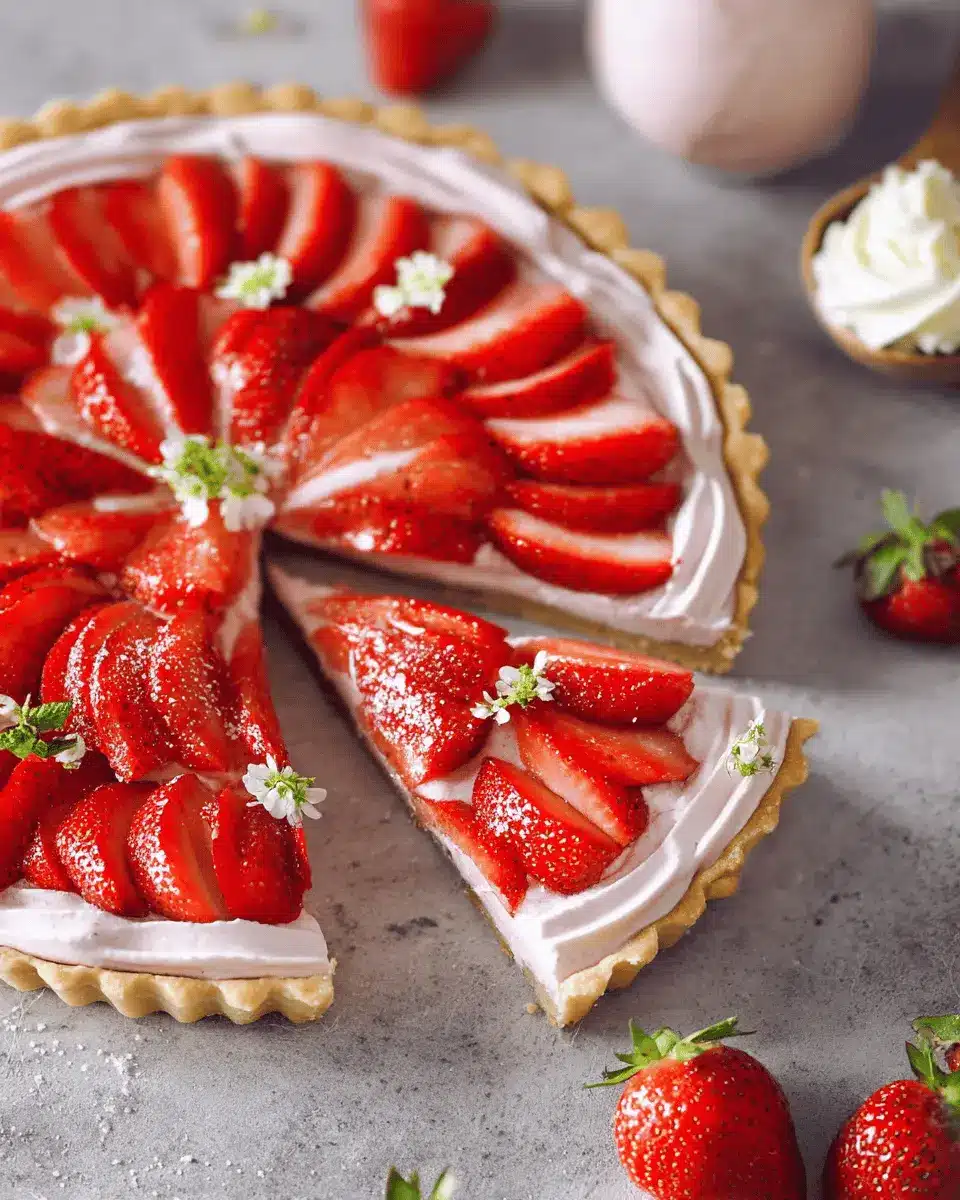
After the chilling process, you can enjoy your stunning tart! Spoon any remaining strawberry mixture over the whipped filling, and smooth it out with an offset spatula. Feel free to add fresh strawberries or even a sprinkle of meringue cookies on top for that added flair.
This whipped strawberry tart is now ready to brighten your day! Store it covered in the refrigerator, and it should last a few days—if it lasts that long! Enjoy sharing it with friends, or relish every creamy bite yourself.
With these simple steps, you’ll have a stunning dessert that captures the essence of fresh strawberries. Happy tarts!
Variations on Whipped Strawberry Tart
Add a layer of lemon curd
For a delightful zesty twist, try adding a layer of homemade lemon curd between the strawberry filling and whip. The tart, bright notes of lemon beautifully complement the sweetness of the whipped strawberry tart, creating a refreshing contrast. Just spread a thin layer of lemon curd over the set strawberry layer before topping with whipped cream, and enjoy that burst of citrus!
Use different fruits for filling
Feeling adventurous? Swap strawberries for other fruits to find your perfect combination. Ripe peaches or luscious blueberries can add unique flavors and colors to your tart. Each fruit provides a different taste experience and can help your whipped strawberry tart transcend seasons. Consider adding a smear of raspberry puree for added flavor depth, and let your palate be the guide!
Tips and Notes for Whipped Strawberry Tart
Ensuring the perfect crust
To achieve the perfect tart crust, ensure your butter is at room temperature but not too warm, as it can lead to a greasy texture. After rolling out your dough, chill it again before baking; this helps prevent shrinkage. Don't skip the parchment and weights during the par-baking process—it's essential for keeping your crust flat and even.
Storing your whipped strawberry tart
While your whipped strawberry tart can last up to three days in the fridge, it’s best enjoyed fresh. To store, cover it with foil or plastic wrap to protect it from drying out. If you're looking for an extra twist, try adding a layer of lemon zest to brighten the flavors. For more tips on ingredient ratios, check out Serious Eats.
Serving Suggestions for Whipped Strawberry Tart
Garnishing Ideas to Elevate Presentation
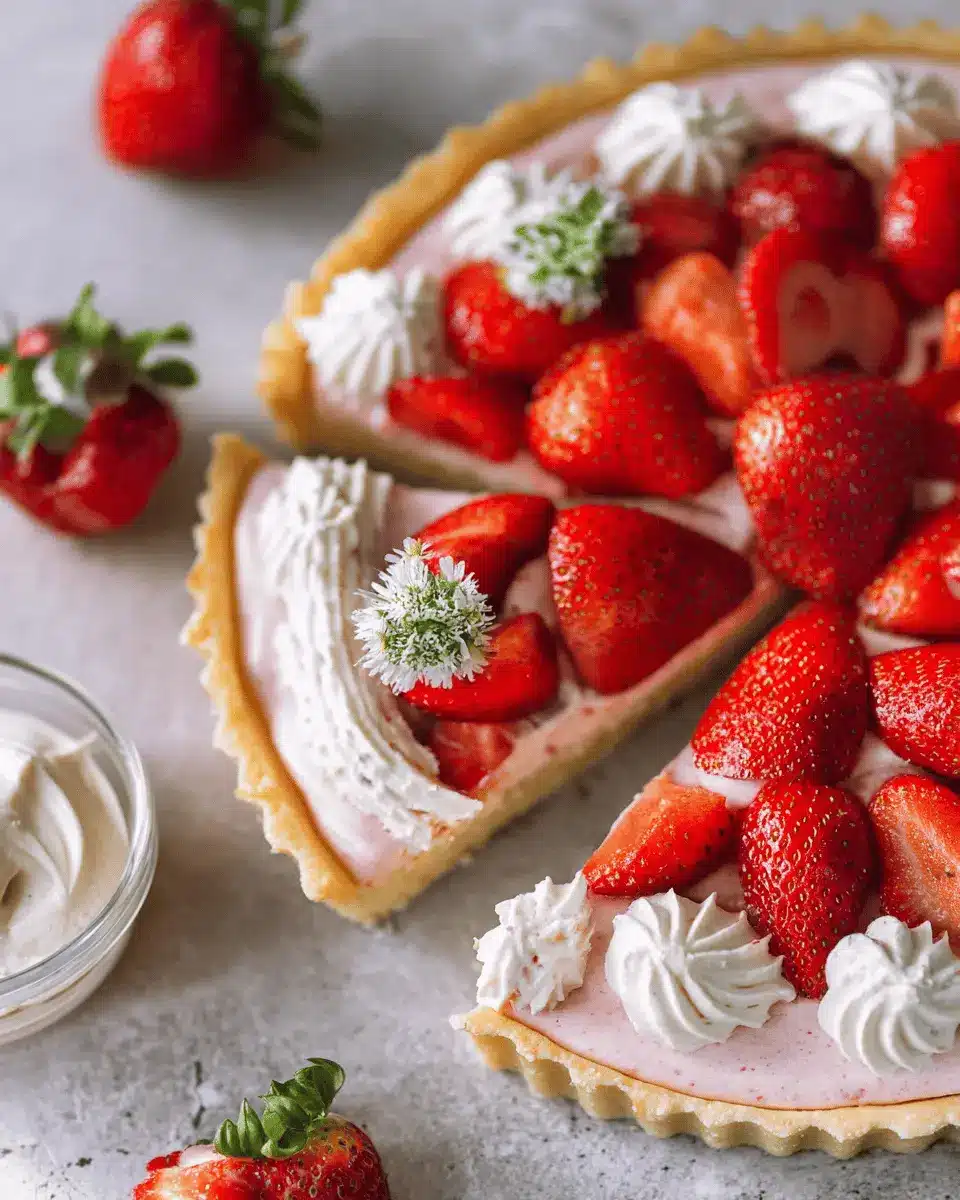
To truly make your whipped strawberry tart shine, consider creative garnishing options. Start with fresh strawberries and arrange them artfully on top. You could also add a sprinkle of mint leaves for a splash of color. For a unique twist, try dolloping meringue cookies or using edible flowers to enhance the aesthetic appeal. A light drizzle of strawberry sauce or a dusting of powdered sugar can elevate the overall look, transforming your dessert into an eye-catching centerpiece for any gathering.
Pairing Your Tart with Ice Cream or Sorbet
Serving your whipped strawberry tart alongside a scoop of ice cream or a refreshing sorbet can create a delightful contrast in textures and flavors. Vanilla or coconut ice cream pairs beautifully with the fruity notes, while a lemon sorbet adds a zesty zing to every bite. This combination not only makes for a beautifully balanced dessert but also impresses your guests with the versatility of flavors. Want to explore more pairings? Check out this ice cream pairing guide for inspiration!
Enjoy your sweet creation—it’s bound to steal the show!
Time Breakdown for Whipped Strawberry Tart
Preparation Time
Getting started on your whipped strawberry tart takes about 35 minutes. This includes everything from mixing the crust to preparing the strawberry filling.
Baking Time
The tart crust needs a quick 20 minutes in the oven to achieve that perfect golden hue. It’s a brief but essential step for flavor!
Chilling Time
Patience is key! You’ll need to let the tart chill for 3 hours. This helps the flavors meld beautifully and ensures a smooth, creamy texture when you’re ready to serve.
Nutritional Facts for Whipped Strawberry Tart
Calories
Each serving of this delightful whipped strawberry tart contains approximately 300 calories. This makes it a guilt-free treat to enjoy without derailing your dietary goals.
Fats
The tart features about 20 grams of fat per serving, primarily from the buttery crust and rich cream. Fats are essential for energy and help absorb vitamins, making this dessert not only delicious but beneficial in moderation.
Sugar Content
With around 25 grams of sugar per serving, this whipped strawberry tart is sweetened naturally with fresh strawberries and additional sugar. Remember, enjoying this dessert occasionally can be a part of a balanced diet, especially when you appreciate the quality ingredients!
For more insights on maintaining a balanced diet with dessert, check out sources like the American Heart Association or Harvard Health Publishing!
FAQs about Whipped Strawberry Tart
How can I make it gluten-free?
To create a gluten-free whipped strawberry tart, simply substitute all-purpose flour with a gluten-free flour blend. Ensure the blend contains xanthan gum or include it separately for better texture. You can find reliable gluten-free baking options at your local grocery store or online. This tweak will let you enjoy the tart without gluten!
Can I use frozen strawberries instead of fresh?
Absolutely! While fresh strawberries provide a vibrant flavor and texture, frozen strawberries work well too. Just make sure to thaw and drain them thoroughly to avoid excess moisture. You might also want to adjust the sweetness slightly, as frozen berries can be a bit tangier. This recipe remains flexible for delicious results.
How long can I store the whipped strawberry tart?
The whipped strawberry tart can last up to three days in the refrigerator when properly covered. To keep its freshness, store it in an airtight container. However, for the best flavor and texture, enjoy it within the first two days. This tart is perfect for sharing and will impress your guests!
For more tips on storing desserts, check out this helpful guide.
Conclusion on Whipped Strawberry Tart
Indulging in a whipped strawberry tart is a delightful experience that combines creamy filling with a buttery crust. It’s perfect for any occasion, impressing friends and family alike with its vibrant flavors. Don't hesitate—give this recipe a try and savor every bite! Your taste buds will thank you.
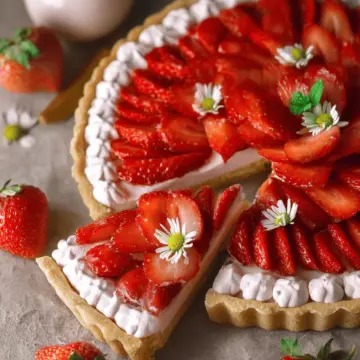
Whipped Strawberry Tart
Equipment
- tart pan
- blender
- Stand Mixer
- small saucepan
- parchment paper
Ingredients
Tart Crust
- 0.5 cup unsalted butter room temperature
- 0.5 cup sugar
- 1 teaspoon vanilla extract
- 1 large egg room temperature
- 1.75 cups all-purpose flour
- 0.5 teaspoon salt
Whipped Strawberry Filling
- 400 g fresh strawberries quartered (about 2 ½ cups)
- 0.5 cup water or your favorite rosé
- 0.75 cup sugar
- 2 teaspoon unflavored gelatin
- 1 tablespoon cornstarch
- 1 tablespoon water
- 4 oz cream cheese room temperature
- 1.5 cups heavy cream
Instructions
To make the crust
- Cream butter and sugar on medium speed for 4-5 minutes. Add egg and vanilla. Mix until combined. Add flour and salt; mix until incorporated and a soft dough forms.
- Turn out dough on a lightly floured surface. Using the heel of your hand, fraisage the dough several times to help prevent the dough from cracking and feathering when you roll it out. Form dough into a disc and wrap in plastic wrap. Chill in the fridge for at least 1 to 2 hours, or overnight.
- Preheat oven to 350° and lightly spray a 9-inch tart pan with baking spray.
- On a lightly floured surface, roll out the tart dough to about ¼” thickness. Use the rolling pin to roll up the dough and transfer to the prepared tart pan. Arrange the dough in the pan and trim away access. Use a fork to dock the bottom of the tart dough. Let the tart dough chill again in the fridge for 30 minutes to 1 hour.
- To par bake the tart shell, place the tart pan on a sheet pan. Then lay a sheet of parchment over the tart pan and fill with pie weights, dried beans, or uncooked rice. Bake for 20 minutes. Remove from the oven and allow parchment and weights to cool enough to remove them easily.
To make the filling
- Add strawberries and water to a blender; puree until smooth. You should have about 2 cups of puree. Pour puree into a small saucepan over medium heat. Add the sugar and gelatin and stir until both are dissolved. Stir together cornstarch and water and add to the strawberry mixture. Cook, stirring continuously, for a couple more minutes, until mixture has thickened and evenly coats the back of a spoon. You should end up with about 1 ½ cups of the strawberry mixture. Place in the fridge for an hour to cool or until completely cool.
- Spoon half of the strawberry mixture (about ¾ cup) into the prepared tart crust and spread evenly. Chill in the refrigerator.
- In the bowl of a stand mixer with the whisk attachment, add cream cheese and whip on high speed until smooth and creamy. Add about ¼ cup of the cream, and mix on high speed until incorporated. Scrape the sides of the bowl and repeat, adding a little bit of cream at a time until completely incorporated with the cream cheese. Then mix on high speed until stiff peaks form.
- Add the remaining strawberry mixture (about ¾ cup) to the whipped cream and whip on high speed again until stiff peaks form. Spoon whipped filling over the strawberry layer in the tart crust and smooth with an offset spatula. Return to the refrigerator until thoroughly chilled, about 2-3 hours or overnight.
- When ready to serve, garnish with fresh strawberries, pineberries, meringue cookies, or additional whipped cream if desired.
- Store covered in the refrigerator.
Leave a Reply