
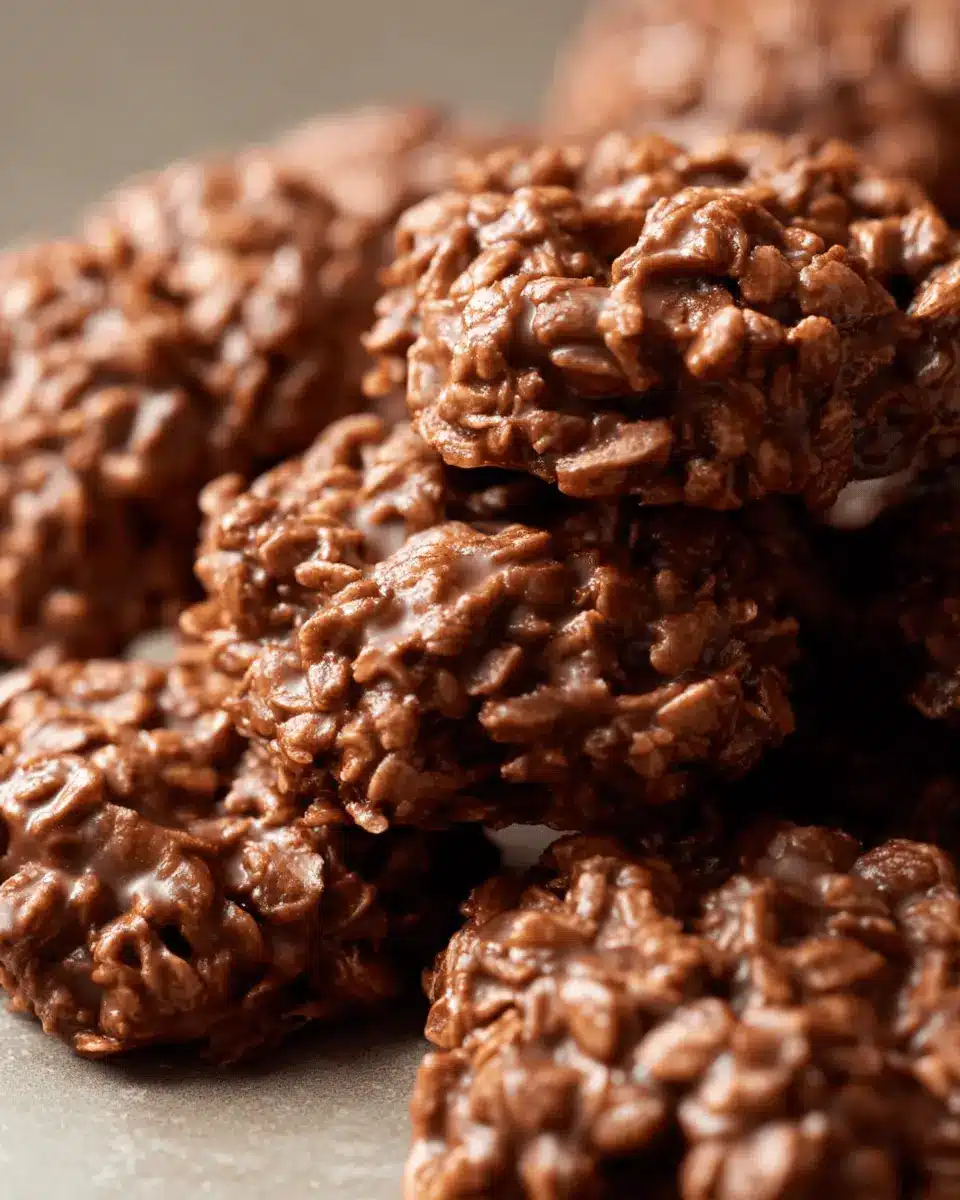
Introduction to Classic No-Bake Cookies
Looking for a quick and satisfying treat? Classic no-bake cookies are a delightful solution for busy young professionals balancing work and life. They require minimal effort, making them a great choice for those hectic weekdays when dessert cravings strike but time is short. With just a few simple ingredients—think peanut butter, oats, and cocoa powder—you can whip up a batch in no time!
Imagine coming home after a long day, and instead of slaving away in the kitchen, you can prepare homemade cookies in just 20 minutes. The beauty of classic no-bake cookies lies in their no-fuss method; there’s no preheating the oven or complicated baking techniques involved. Simply mix everything on the stovetop and then let them set.
Beyond convenience, these cookies are also versatile. You can customize them by adding your favorite ingredients, whether it’s a sprinkle of sea salt or a handful of your favorite nuts. Plus, they make a perfect snack for midday energy boosts! If you’re intrigued by more snack options, check out these healthy recipes from Healthline.
Ready to dive into the recipe? Let's get started with these classic no-bake cookies!
Ingredients for Classic No-Bake Cookies
Creating delicious classic no-bake cookies is a breeze when you have the right ingredients on hand. Here’s a breakdown to ensure your baking experience is smooth and enjoyable.
Key Ingredients You Need for Success
To achieve the perfect texture and flavor in your cookies, gather the following key ingredients:
- Butter: Acts as the base for our cookie mixture.
- Granulated Sugar: Sweetens the cookies and helps create a chewy texture.
- Milk: Adds moisture; whole milk is my preferred choice, but alternatives like almond milk work too!
- Unsweetened Cocoa Powder: Gives that rich chocolatey taste.
- Creamy Peanut Butter: This is essential for flavor and binding.
- Vanilla Extract: A splash enhances the overall taste.
- Quick-Cooking Oats: Provides the chewy element; old-fashioned oats can work but may yield a different texture.
Tips for Ingredient Substitutions
Have dietary restrictions or missing an ingredient? No problem! Here are some easy swaps:
- Nut Butters: Swap peanut butter for almond or sunflower seed butter if you have nut allergies.
- Sweeteners: If you prefer a healthier option, consider using honey or maple syrup instead of granulated sugar (though it may change the consistency).
- Oat Varieties: Can’t find quick oats? Pulse old-fashioned oats in a food processor a couple of times to achieve the desired consistency.
With these tips and ingredients, you’re all set to whip up the classic no-bake cookies of your dreams! Happy baking!
Step-by-step Preparation of Classic No-Bake Cookies
Making classic no-bake cookies is a delightful, quick process that requires minimal fuss and time. Follow these easy steps to whip up a batch of these scrumptious treats that will leave your friends and family begging for more!
Gather and prep all your ingredients
Before diving into the cooking process, it’s essential to get organized. Gather all your ingredients to make the experience smooth and enjoyable. Here’s what you’ll need:
- ½ cup (115 grams) butter, sliced into pieces
- 2 cups (400 grams) granulated sugar
- ½ cup (120 ml) milk (whole milk preferred, but feel free to use alternatives)
- ¼ cup (20 grams) unsweetened cocoa powder
- ½ cup (125 grams) creamy peanut butter
- 1 teaspoon pure vanilla extract
- 3 cups (300 grams) quick-cooking oats
Make sure to measure everything meticulously—this ensures consistent results each time you make these classic no-bake cookies. Also, line two large baking sheets with parchment paper to prevent sticking and simplify cleanup.
Combine the butter, sugar, milk, and cocoa
In a large saucepan, combine the butter, granulated sugar, milk, and unsweetened cocoa powder. Place the pan over medium heat and stir often until the butter fully melts and the ingredients meld together. This step sets the foundation for the rich flavor of your cookies.
Achieve the perfect boil
Once the mixture is well-combined, bring it to a rolling boil. Pay close attention here—set a timer for 60 seconds as you let it boil. Keep stirring occasionally to ensure nothing sticks to the bottom. The right boil is critical; it gives your cookies that perfect chewy texture we all love!
Mix in the peanut butter and vanilla
Remove the saucepan from heat and stir in the creamy peanut butter and pure vanilla extract. This is where the magic happens! The peanut butter brings in that nutty, creamy flavor that pairs beautifully with the chocolate. Stir until everything is fully combined; this ensures that delicious taste is evenly distributed.
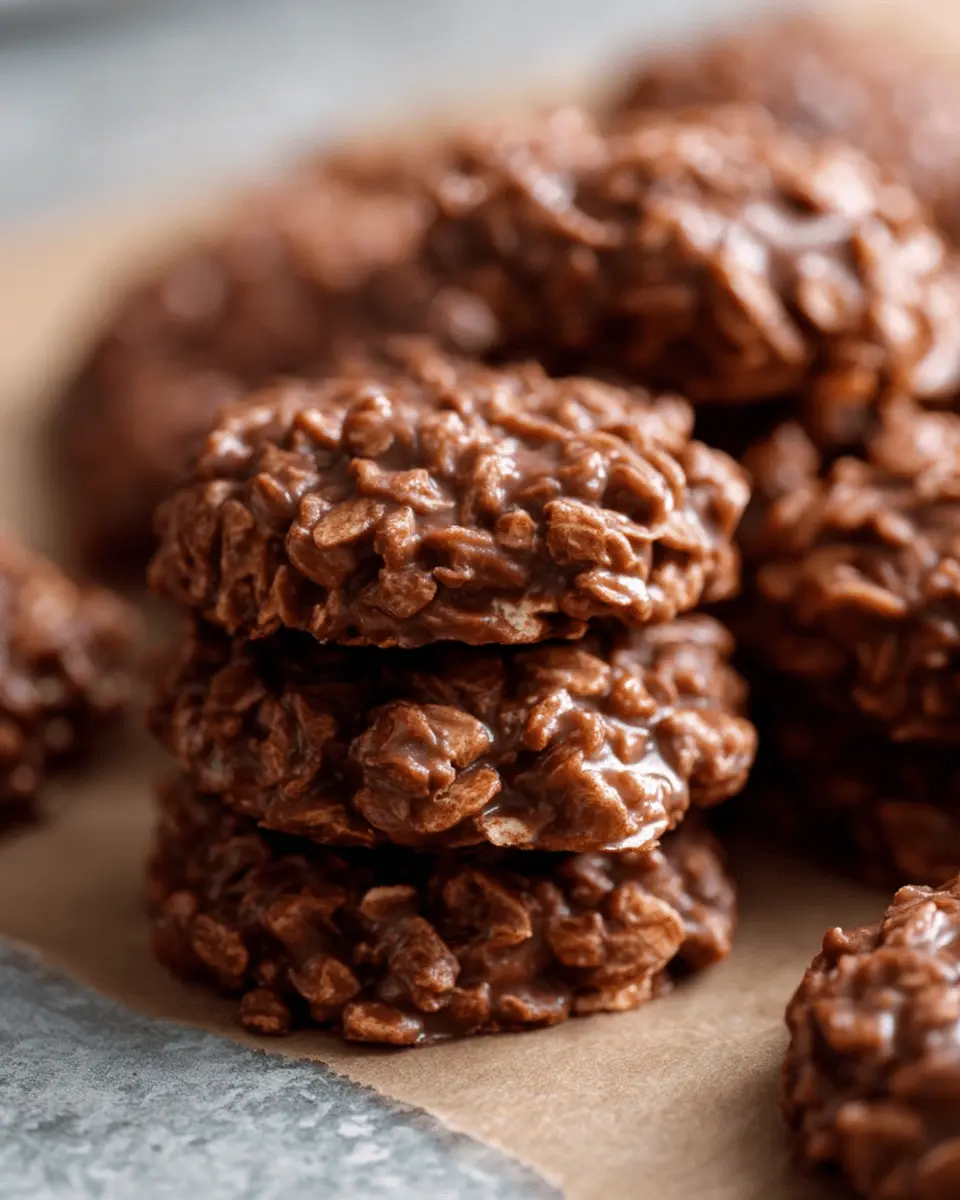
Fold in the oats for a chunky texture
Now it’s time to add the quick-cooking oats. Pour them into the mixture and gently fold them in. It’s important to mix until all the oats are evenly coated, which will give your classic no-bake cookies that delightful chunky texture.
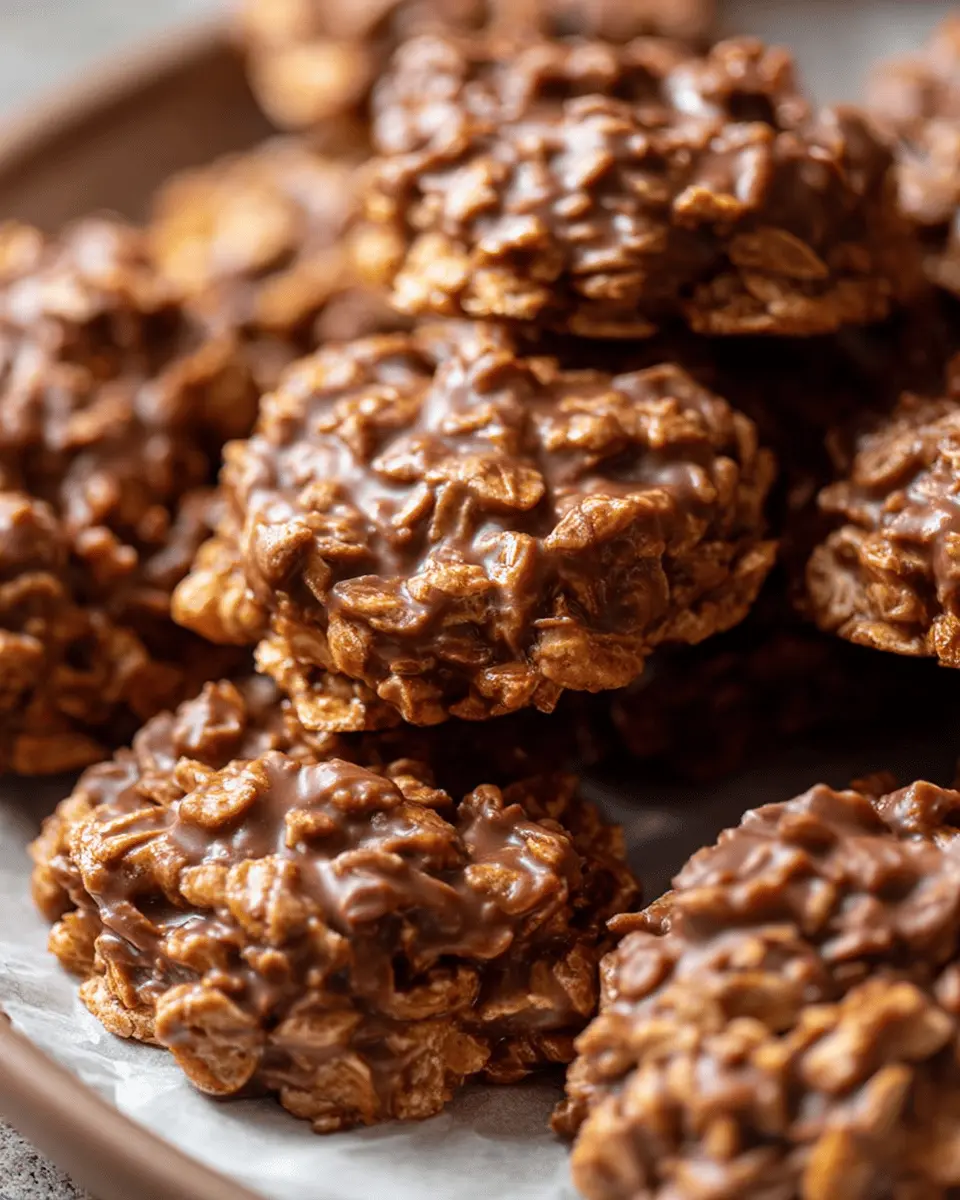
Scoop onto parchment and let cool
Using a tablespoon or a cookie scoop, drop spoonfuls of the mixture onto your prepared parchment-lined baking sheets. Make sure to leave some space between the cookies, as they may spread slightly. Let them cool for about 20 to 30 minutes until they firm up.
As you wait, you can think about all the variations you might try next time—add-ins like nuts, coconut, or even a sprinkle of sea salt are fantastic!
These classic no-bake cookies are not only easy to make but are also a treat that never fails to impress, providing quick satisfaction without the need for baking. Enjoy!
Variations on Classic No-Bake Cookies
Adding nuts for crunch
One of the simplest ways to elevate your classic no-bake cookies is by adding nuts for an extra crunch. Chopped walnuts, pecans, or even almonds can introduce delightful textures that complement the creamy peanut butter. Plus, nuts pack a nutritional punch—they're rich in healthy fats and protein. Just stir in about ½ cup of your favorite nuts when mixing in the oats for that perfect balance of chewy and crunchy.
Experimenting with different nut butters
Feeling adventurous? Swap out the traditional peanut butter for varieties like almond, cashew, or even sunflower seed butter! Each nut butter brings its unique flavor and creaminess, offering a fresh take on classic no-bake cookies. For a fun twist, try mixing two or more nut butters together for a layered flavor profile. Just be mindful of the texture; some nut butters may be thicker or creamier, which could alter your cookie consistency slightly.
Cooking Tips and Notes for Classic No-Bake Cookies
Common mistakes to avoid
When making classic no-bake cookies, one common mistake is not allowing the mixture to reach a full boil for 60 seconds. This step is crucial for proper texture, as it helps the cookies set correctly. Another issue is not working quickly after mixing the oats; they should be dropped onto the baking sheet while warm and pliable.
How to fix cookies that didn’t set
If your cookies are too soft, don’t worry! Simply heat a bit more milk and sugar in a saucepan until boiling, then stir in the under-set cookies until combined. Scoop them onto the baking sheet again and let them cool. This fix will ensure that your classic no-bake cookies achieve the right firmness. For more tips, check out resources from The Kitchn.
Serving Suggestions for Classic No-Bake Cookies
Pairing with Beverages
When enjoying your classic no-bake cookies, consider serving them with a glass of cold milk or a creamy almond milk alternative for a delightful contrast. A rich cup of coffee or a soothing herbal tea can also elevate your cookie experience. Did you know that pairing a chocolate treat with coffee enhances its flavor? The bitterness of coffee complements the sweetness of the cookies beautifully!
Presenting for Gatherings or Parties
For gatherings, arrange your no-bake cookies on a vibrant platter, perhaps garnished with fresh berries or mint leaves for a pop of color. Fill small bags with cookies for guests to take home, or stack them in jars for a charming table centerpiece. These simple touches can make your classic no-bake cookies the star of your event! For more presentation ideas, check out this guide on dessert displays.
Time Breakdown for Classic No-Bake Cookies
Prep Time
Begin your delicious journey with a prep time of just 20 minutes. Measure and gather your ingredients to streamline the process. It’s a great time to have your favorite playlist or podcast in the background.
Cooking Time
The cooking phase is quick, taking only 5 minutes. This is where the magic happens as you blend the ingredients in a saucepan.
Total Time
In 45 minutes, you’ll have scrumptious classic no-bake cookies ready to enjoy! After a brief cooling period of 20 minutes, they’ll be firm and perfect for devouring. For more tips on prepping efficiently, check out this article on meal prep ideas, which can make your baking adventures even smoother!
Nutritional Facts for Classic No-Bake Cookies
Calories per cookie
Each of these delightful classic no-bake cookies contains approximately 110 calories, making them a quick indulgence when you need a sweet treat. With a total of 30 cookies in the batch, it’s easy to enjoy them without feeling guilty.
Breakdown of sugar and fat content
In these no-bake cookies, you'll find roughly 15 grams of sugar and 5 grams of fat per cookie. While they are a treat, the combination of peanut butter and oats helps balance out indulgence. For a deeper dive into the nutritional value of peanut butter, check out this nutrition guide from Healthline.
These numbers make it clear that while these cookies are sweet, they also provide some energy-boosting nutrition. Plus, with options for modifications like using natural sweeteners or alternative oils, you can tailor them to suit your dietary needs!
FAQs about Classic No-Bake Cookies
Can I make these cookies dairy-free?
Absolutely! To create classic no-bake cookies that are dairy-free, simply swap the butter with a dairy-free alternative such as coconut oil or a plant-based butter substitute. For the milk, opt for almond milk, oat milk, or soy milk. These substitutes retain the deliciousness of the cookies while making them suitable for those avoiding dairy.
How long will they last?
When stored correctly in an airtight container at room temperature, your classic no-bake cookies can last up to one week. If you want to keep them for a longer period, consider freezing them. They’ll remain tasty for up to three months! Just make sure to thaw them at room temperature before indulging.
What can I do if my cookies don’t harden?
If your cookies are still soft after cooling, it might be due to insufficient cooking time or the mixture not reaching the right temperature during boiling. To troubleshoot, try placing them in the refrigerator for a bit; this often helps them firm up. If you find they still don’t set, you can reheat the mixture gently, add a bit more oats, and spoon them out again to cool. Don’t hesitate to check out this helpful guide for more baking tips and troubleshooting advice!
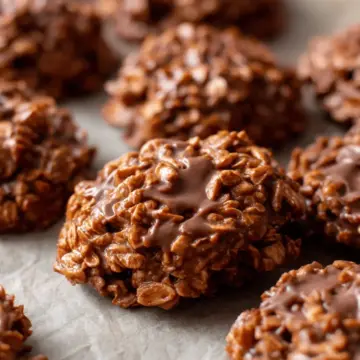
Conclusion on Classic No-Bake Cookies
The joy of making classic no-bake cookies at home lies in their simplicity and sweetness. With just a few ingredients, you can whip up a batch that brings nostalgia and delight. Enjoy this treat with friends or keep them all to yourself—either way, happy baking!
Classic No-Bake Cookies: The Easy Indulgence You’ll Love
Equipment
- large saucepan
- cookie scoop
- baking sheets
- parchment paper
Ingredients
- ½ cup butter sliced into pieces
- 2 cups granulated sugar
- ½ cup milk preferably whole
- ¼ cup unsweetened cocoa powder
- ½ cup creamy peanut butter
- 1 teaspoon pure vanilla extract
- 3 cups quick-cooking oats
Instructions
- Gather all of your ingredients and measure everything out. Line two large baking sheets with parchment paper and set aside.
- Combine the butter, sugar, milk, and unsweetened cocoa powder in a large saucepan and heat over medium heat, stirring often until the butter is melted and everything is combined. Bring the mixture to a rolling boil and allow to boil for 60 seconds, stirring occasionally.
- Remove from heat, and stir in the peanut butter and vanilla extract until fully combined. Stir in the oats and mix until all of the oats are coated with the mixture.
- Drop spoonfuls of the mixture onto the prepared baking sheets and allow to cool for 20 to 30 minutes before serving.

Leave a Reply