
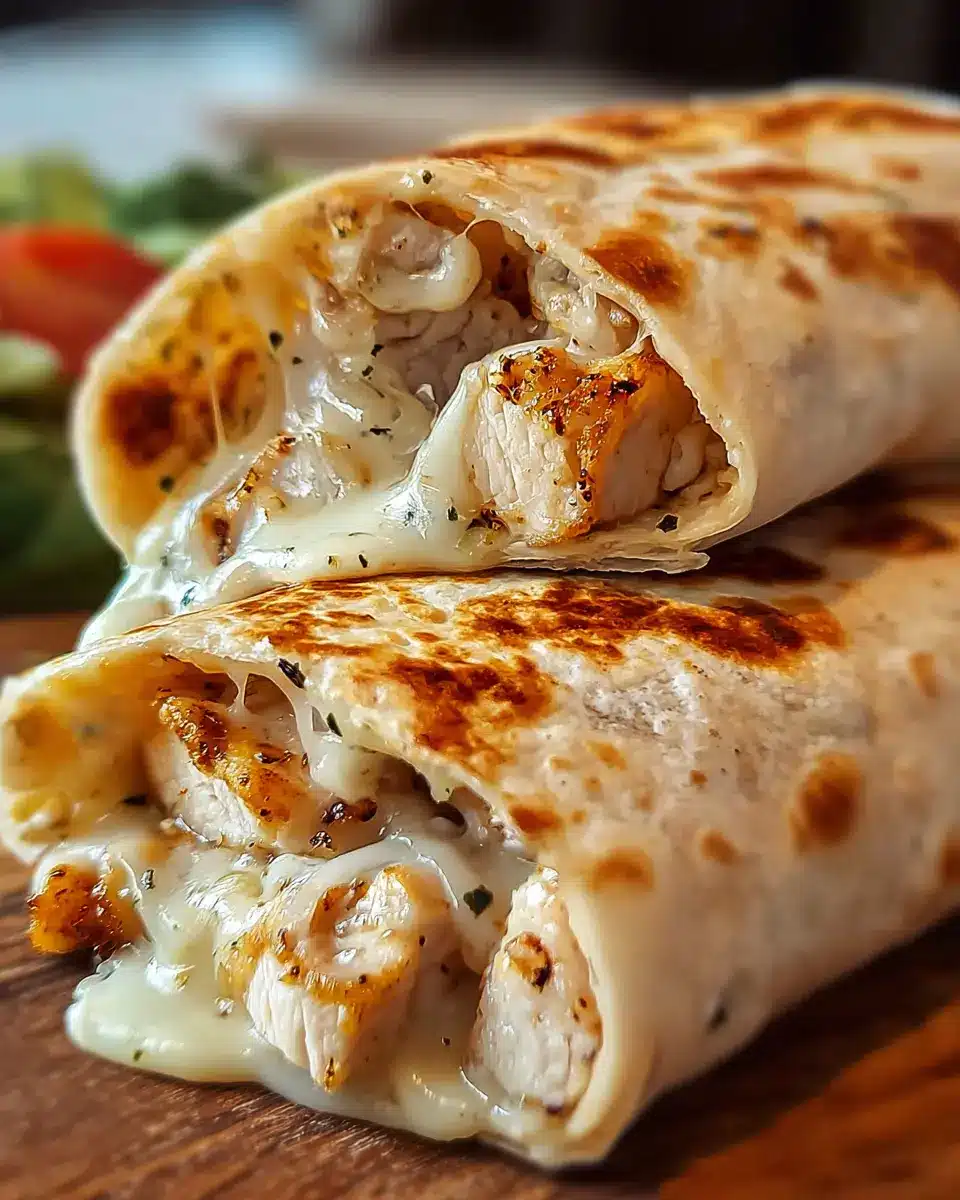
Introduction to Easy Cheesy Garlic Chicken Wraps
Are you a busy young professional looking for a delicious and quick meal that doesn’t skimp on flavor? Enter easy cheesy garlic chicken wraps! These scrumptious wraps are not only packed with mouthwatering ingredients but are also a breeze to make, which is crucial for those of us juggling work and life.
Why Easy Cheesy Garlic Chicken Wraps Are a Game Changer for Young Professionals
In our fast-paced world, time is often at a premium. That's where these wraps come in—they can be prepared in just 20 minutes using leftover chicken and ingredients you probably already have in your pantry.
- Quick Preparation: With just a 10-minute prep and a 10-minute cook time, these wraps are perfect for a quick lunch or dinner.
- Budget-Friendly: Costing around $10 for four servings, they won't break the bank yet provide a filling meal that even picky eaters will love.
- Versatile Ingredients: Feel free to customize the filling with whatever you have on hand. Have some extra veggies or different cheeses? Toss them in!
Whether you’re cooking for yourself or a small gathering, these easy cheesy garlic chicken wraps are sure to impress without taking up your entire evening. So grab your skillet and let’s get cooking!
Ingredients for Easy Cheesy Garlic Chicken Wraps
Essential ingredients you’ll need
To whip up these easy cheesy garlic chicken wraps, you'll need a handful of straightforward ingredients that are likely already in your kitchen. Here's what you'll gather:
- 2 cups cooked chicken: Shredded or diced, rotisserie chicken works wonders for this recipe.
- 1 teaspoon garlic powder: A must for that delightful garlic flavor.
- ½ teaspoon Italian seasoning: A perfect herb blend to elevate the taste.
- Salt and pepper: To adjust the seasoning to your liking.
- 1 ½ cups shredded mozzarella cheese: Because more cheese means more happiness.
- ¼ cup grated Parmesan cheese: For an extra punch of flavor.
- 2 tablespoons cream cheese: This is key for a creamy texture.
- 4 large flour tortillas: The wrap that holds everything together.
Optional ingredients for extra flavor
Want to take your easy cheesy garlic chicken wraps to the next level? Consider adding some optional ingredients:
- Sautéed vegetables: Bell peppers or spinach can add color and nutrition.
- Hot sauce or chili flakes: For a kick of heat that spice lovers will appreciate.
- Fresh herbs: Basil or cilantro sprinkled on top can offer a fresh finish.
- Avocado slices: Creamy avocado pairs beautifully with the cheesy filling.
Get creative and personalize your wraps! For more tips on enhancing flavors, check out this expert article on seasoning. Enjoy your cooking adventure!
Preparing Easy Cheesy Garlic Chicken Wraps
Cooking should be fun, quick, and satisfying, and that's exactly what these easy cheesy garlic chicken wraps deliver. Whether you’re whipping them up for a casual dinner or a quick lunch, these wraps are packed with flavor and comfort. Let’s walk through the preparation steps together!
Gather and Prepare Your Ingredients
Before diving into the cooking, start by gathering all your ingredients. This not only streamlines your cooking process but also ensures you won’t have to dash to the pantry mid-recipe. Here's what you'll need:
- 2 cups cooked chicken (shredded or diced)
- 1 teaspoon garlic powder
- ½ teaspoon Italian seasoning
- Salt and pepper to taste
- 1 ½ cups shredded mozzarella cheese
- ¼ cup grated Parmesan cheese
- 2 tablespoons softened cream cheese
- 4 tablespoons melted butter
- 3 cloves minced garlic
- ¼ teaspoon dried parsley
- 4 large flour tortillas
- 2 tablespoons olive oil
Don’t forget to have your skillet or griddle pan ready!
Mix the Chicken and Seasonings
In a mixing bowl, combine the cooked chicken with the garlic powder, Italian seasoning, salt, and pepper. This is where you can get creative—adjust the seasonings to match your personal preference or explore adding different spices like smoked paprika for a twist! Remember, cooking is an adventure!
Create the Cheesy Filling
In another bowl, mix together the mozzarella, Parmesan, and softened cream cheese. The cream cheese acts as a wonderful binder, giving your filling a creamy texture that will melt beautifully. Feel free to check out this great guide on how to maximize cheese melt for the perfect gooey result!
Assemble the Wraps
It's time to bring everything together! Lay a tortilla on a flat surface and spoon a generous amount of the chicken mixture into the center. Be careful not to overfill; you want to be able to wrap it tightly without spilling. Fold the sides in, then roll the bottom up over the filling to create a secure wrap.
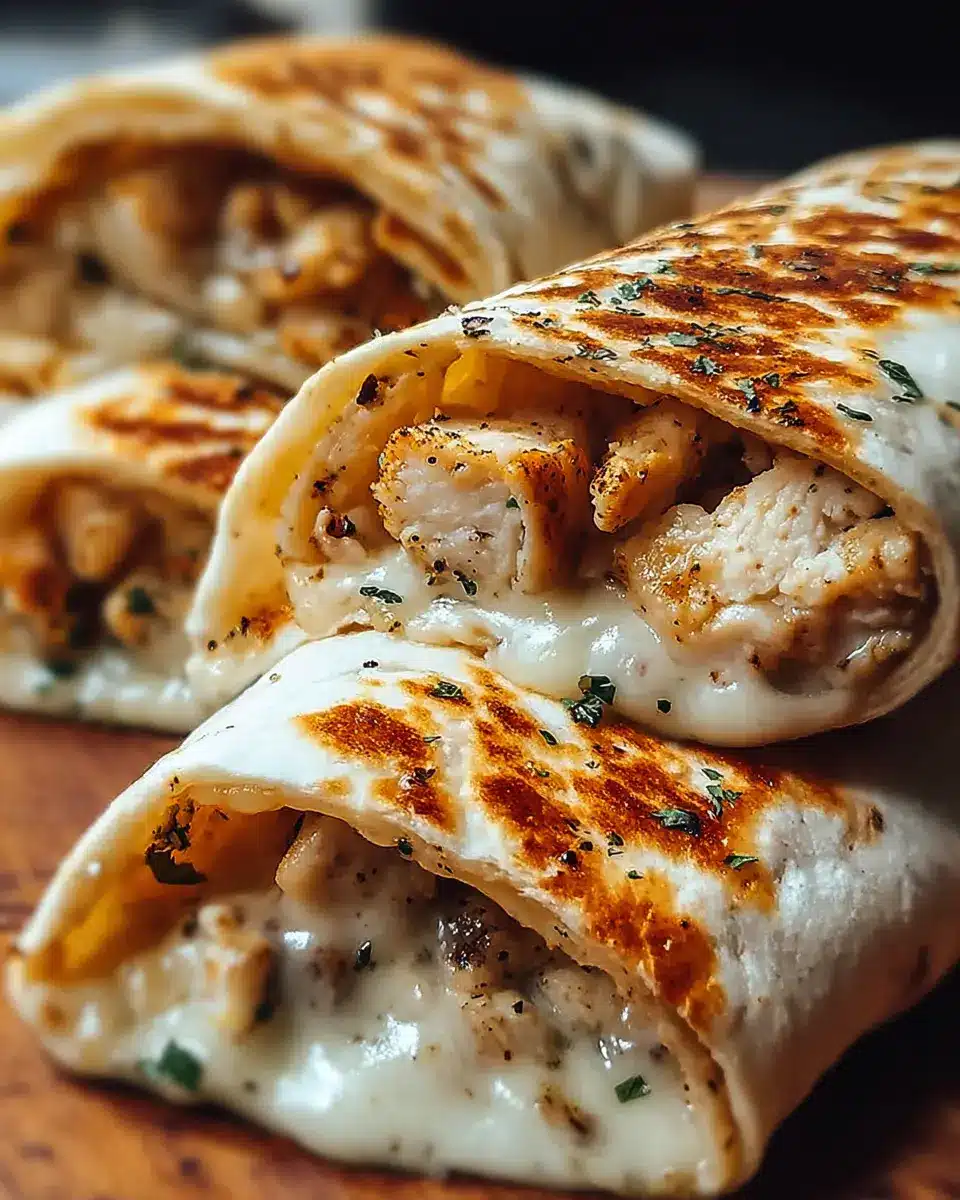
Cook to Golden Perfection
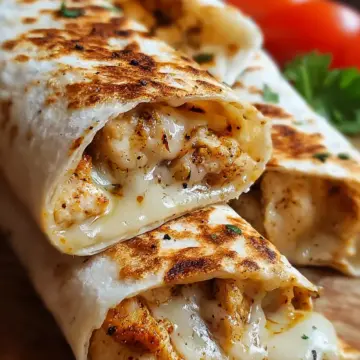
Here's where the magic happens! Heat olive oil in a skillet over medium heat. Once hot, place the wraps seam-side down in the skillet. Cook for 3-4 minutes until golden and crispy, then flip to brown the other side. The aroma of garlic and melted cheese will be irresistible! Once they’re cooked, let them rest briefly before slicing them in half to reveal the cheesy goodness inside.
These easy cheesy garlic chicken wraps are not only delicious but are also a fantastic way to use up leftover chicken. Enjoy with a side salad or some fresh veggies for a complete meal. Happy cooking!
Variations on Easy Cheesy Garlic Chicken Wraps
Spicy Cheesy Garlic Chicken Wraps
If you're in the mood for a kick, transform your easy cheesy garlic chicken wraps into spicy cheesy variations! Simply add some sliced jalapeños or a spoonful of your favorite hot sauce to the chicken mixture. The extra heat complements the gooey, cheesy goodness perfectly. You can also experiment with pepper jack cheese for an extra layer of spice. For a delightful twist, try serving these wraps with a side of zesty ranch or avocado dip.
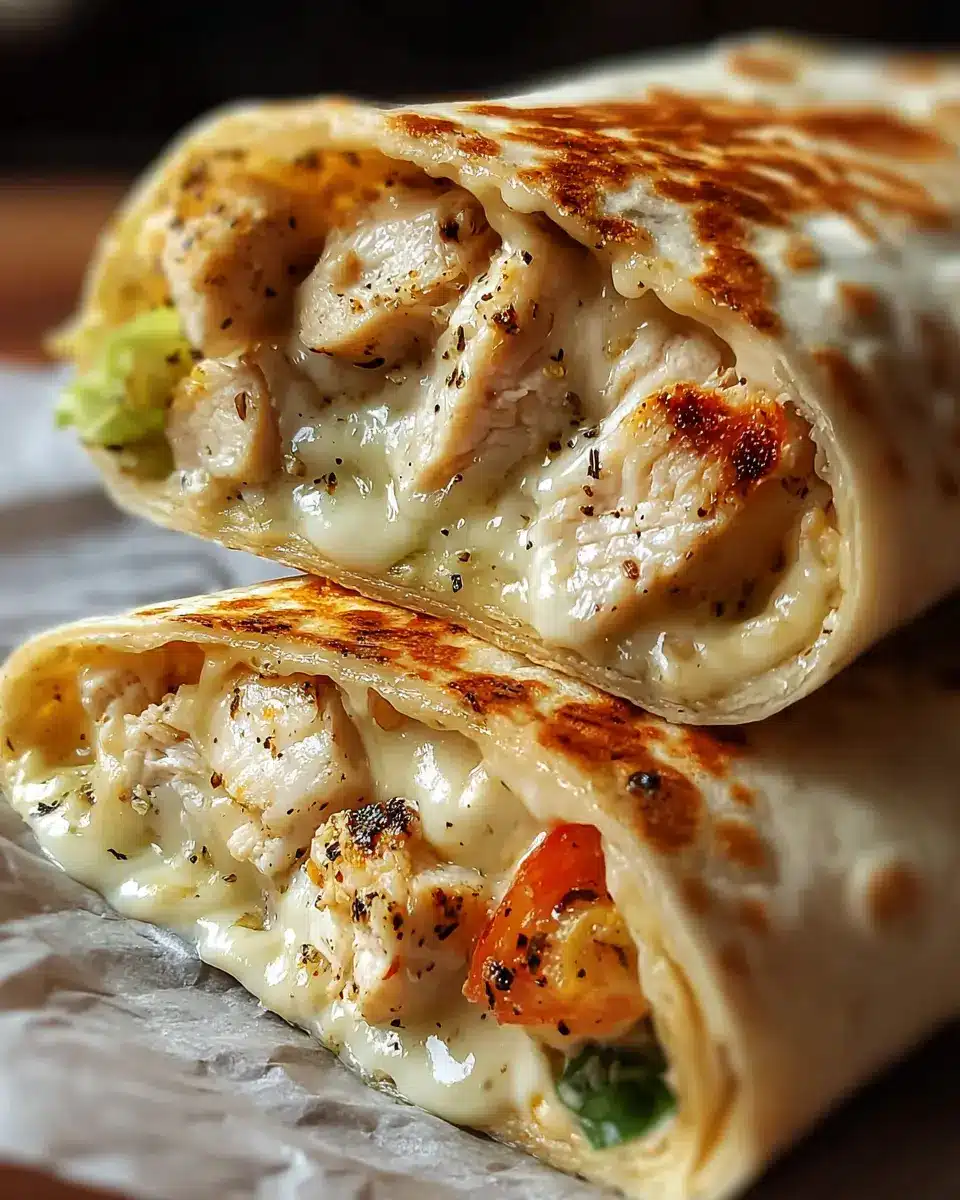
Veggie-Packed Cheesy Garlic Wraps
Looking to sneak in some veggies? Create a veggie-packed version by adding bell peppers, spinach, or even grilled zucchini to the chicken mixture. Not only does this add nutritional value, but it also enhances the flavor and texture. Try things like roasted red peppers or artichoke hearts for a gourmet touch. These chicken wraps will still deliver on cheesy satisfaction, but with a vibrant twist that's both colorful and delicious. For more veggie ideas, check out Healthline for inspiration!
Cooking Tips for Easy Cheesy Garlic Chicken Wraps
Tips for Achieving the Perfect Crunch
For those irresistibly crispy easy cheesy garlic chicken wraps, focus on a few key steps. First, ensure your skillet is preheated; this helps achieve that golden crust. Use enough oil to coat the pan evenly, and don’t overcrowd the wraps—give each one room to sizzle. Finally, the butter-garlic mixture brushed on the outside not only adds flavor but also aids in that sought-after crunch.
Storing Leftovers Effectively
If you have any wraps left (which is rare!), store them in an airtight container in the fridge for up to two days. For best results, reheat them in a skillet over medium heat to retain that crispy texture—microwaving tends to make them soggy. You can also freeze the un-cooked wraps for a quick meal later. Just remember to separate them with parchment paper to prevent sticking!
Serving Suggestions for Easy Cheesy Garlic Chicken Wraps
Pairing with Dips and Sides
Elevate your easy cheesy garlic chicken wraps with a variety of delicious sides and dips. A zesty sour cream and chive dip or a refreshing guacamole can perfectly complement the savory flavors of the wraps. For some crunch, consider serving them alongside fresh veggie sticks or a tangy cilantro-lime slaw. This not only adds color to your plate but offers a delightful contrast in texture.
Creative Serving Ideas for Entertaining
If you're entertaining guests, consider placing your easy cheesy garlic chicken wraps on a stylish platter with an assortment of dips for a beautiful presentation. You could also slice the wraps into bite-sized pinwheels for easy finger food. For a playful twist, serve them in parchment paper cones. This trendy presentation will surely wow your friends while making for easy clean-up. Adding a small bowl of spicy salsa or a mild ranch dressing for dipping can enhance the experience even more!
Time Details for Easy Cheesy Garlic Chicken Wraps
Preparation Time
Get started with just 10 minutes of prep! This phase includes mixing your chicken and cheese, making the garlic butter, and getting everything ready for assembly.
Cooking Time
The cooking stage takes about 10 minutes. You'll be frying those wraps to golden perfection, ensuring every bite is crispy and melted.
Total Time
In only 20 minutes, you can serve up these tasty and satisfying easy cheesy garlic chicken wraps—perfect for those busy weeknights!
For more delicious wrap ideas, check out this blog on healthy wraps for inspiration!
Nutritional Information for Easy Cheesy Garlic Chicken Wraps
Calories per wrap
Each Easy Cheesy Garlic Chicken Wrap contains approximately 480 calories. This makes it an efficient option for a hearty meal, providing comfort without feeling overly indulgent.
Protein Content
These wraps pack a protein punch with 27 grams of protein per serving. Utilizing leftover chicken ensures that you’re getting a nutrient-rich meal to keep you energized throughout your day.
Key Nutritional Values
Here’s a quick breakdown of the key nutritional values you can expect:
- Fat: 29 g (45% of daily value)
- Carbohydrates: 28 g (9% of daily value)
- Saturated Fat: 13 g (81% of daily value)
- Cholesterol: 85 mg (28% of daily value)
- Calcium: 280 mg (28% of daily value)
These wraps are not only delicious but also a balanced choice, thanks to the combination of cheese, chicken, and whole-grain tortillas. For more detailed information on nutrition, consider checking out resources such as the USDA FoodData Central to learn more about specific ingredients.
FAQs about Easy Cheesy Garlic Chicken Wraps
Can I use different types of cheese?
Absolutely! These easy cheesy garlic chicken wraps are versatile. Feel free to experiment with your favorite cheeses like pepper jack for a spicy kick, or gouda for a smoky flavor. Just ensure the cheese melts well, as that gooey texture is key to this dish's comfort food appeal.
How do I make this recipe healthier?
To create a lighter version of the easy cheesy garlic chicken wraps, opt for whole wheat tortillas to boost fiber. You can also substitute low-fat cheese and use less cream cheese or replace it with Greek yogurt. Adding fresh veggies, like spinach or bell peppers, can enhance both nutrition and flavor!
What can I do with chicken leftovers?
Got leftover chicken? This recipe is perfect for it! Shredded rotisserie chicken works great, but you could also incorporate leftover grilled chicken or turkey. Alternatively, use the chicken in salads, soups, or sandwiches for other delicious meals. If you want more ideas, check out this article for creative ways to repurpose cooked chicken.
Conclusion on Easy Cheesy Garlic Chicken Wraps
In closing, these easy cheesy garlic chicken wraps are your ticket to a delicious weeknight meal. Quick to prepare and packed with flavor, they're perfect for leveraging leftover chicken. With just a handful of ingredients, you can create a satisfying dish everyone will love. Happy cooking!
Easy Cheesy Garlic Chicken Wraps
Equipment
- large skillet
- Pastry brush
- mixing bowls
- sharp knife
Ingredients
Chicken Mixture
- 2 cups Cooked chicken Shredded or diced, rotisserie works great
- 1 teaspoon Garlic powder
- ½ teaspoon Italian seasoning Dried
- Salt and pepper To taste
Cheese Mixture
- 1 ½ cups Mozzarella cheese Shredded
- ¼ cup Parmesan cheese Grated
- 2 tablespoons Cream cheese Softened
Garlic Butter
- 4 tablespoons Butter Melted
- 3 cloves Garlic Minced
- ¼ teaspoon Dried parsley For garlic butter
Wraps
- 4 large Flour tortillas
- 2 tablespoons Olive oil For pan frying
Instructions
Preparation Steps
- Mix chicken with garlic powder, seasoning, salt, and pepper.
- Combine mozzarella, parmesan, and cream cheese.
- Whisk butter, garlic, and parsley together.
- Add cheese and chicken mix to the center of the tortilla.
- Fold sides and roll tightly into a wrap.
- Coat the outside of wraps with garlic butter.
- Fry seam-side down until golden and crisp.
- Cook the other side until evenly browned.
- Let rest briefly, then slice and serve.
Leave a Reply